When one artwork just won’t do, in comes the gallery wall
Gallery walls are incredibly versatile and can be used to display family keepsakes, to showcase a favourite collection, to create an accent wall or to fill a large empty spot. While it may seem daunting to create your own, here are some useful tips to help you achieve great results in no time. Just bring your creativity and a smidge of elbow grease.
 Picking the ingredients
The best gallery walls are a reflection of who you are, what you love and are passionate about. Whether you’re a budding astronomer, a bird lover or fancy modern architecture, there’s only one rule: pick items you’ll love rediscovering every time you look at your wall.
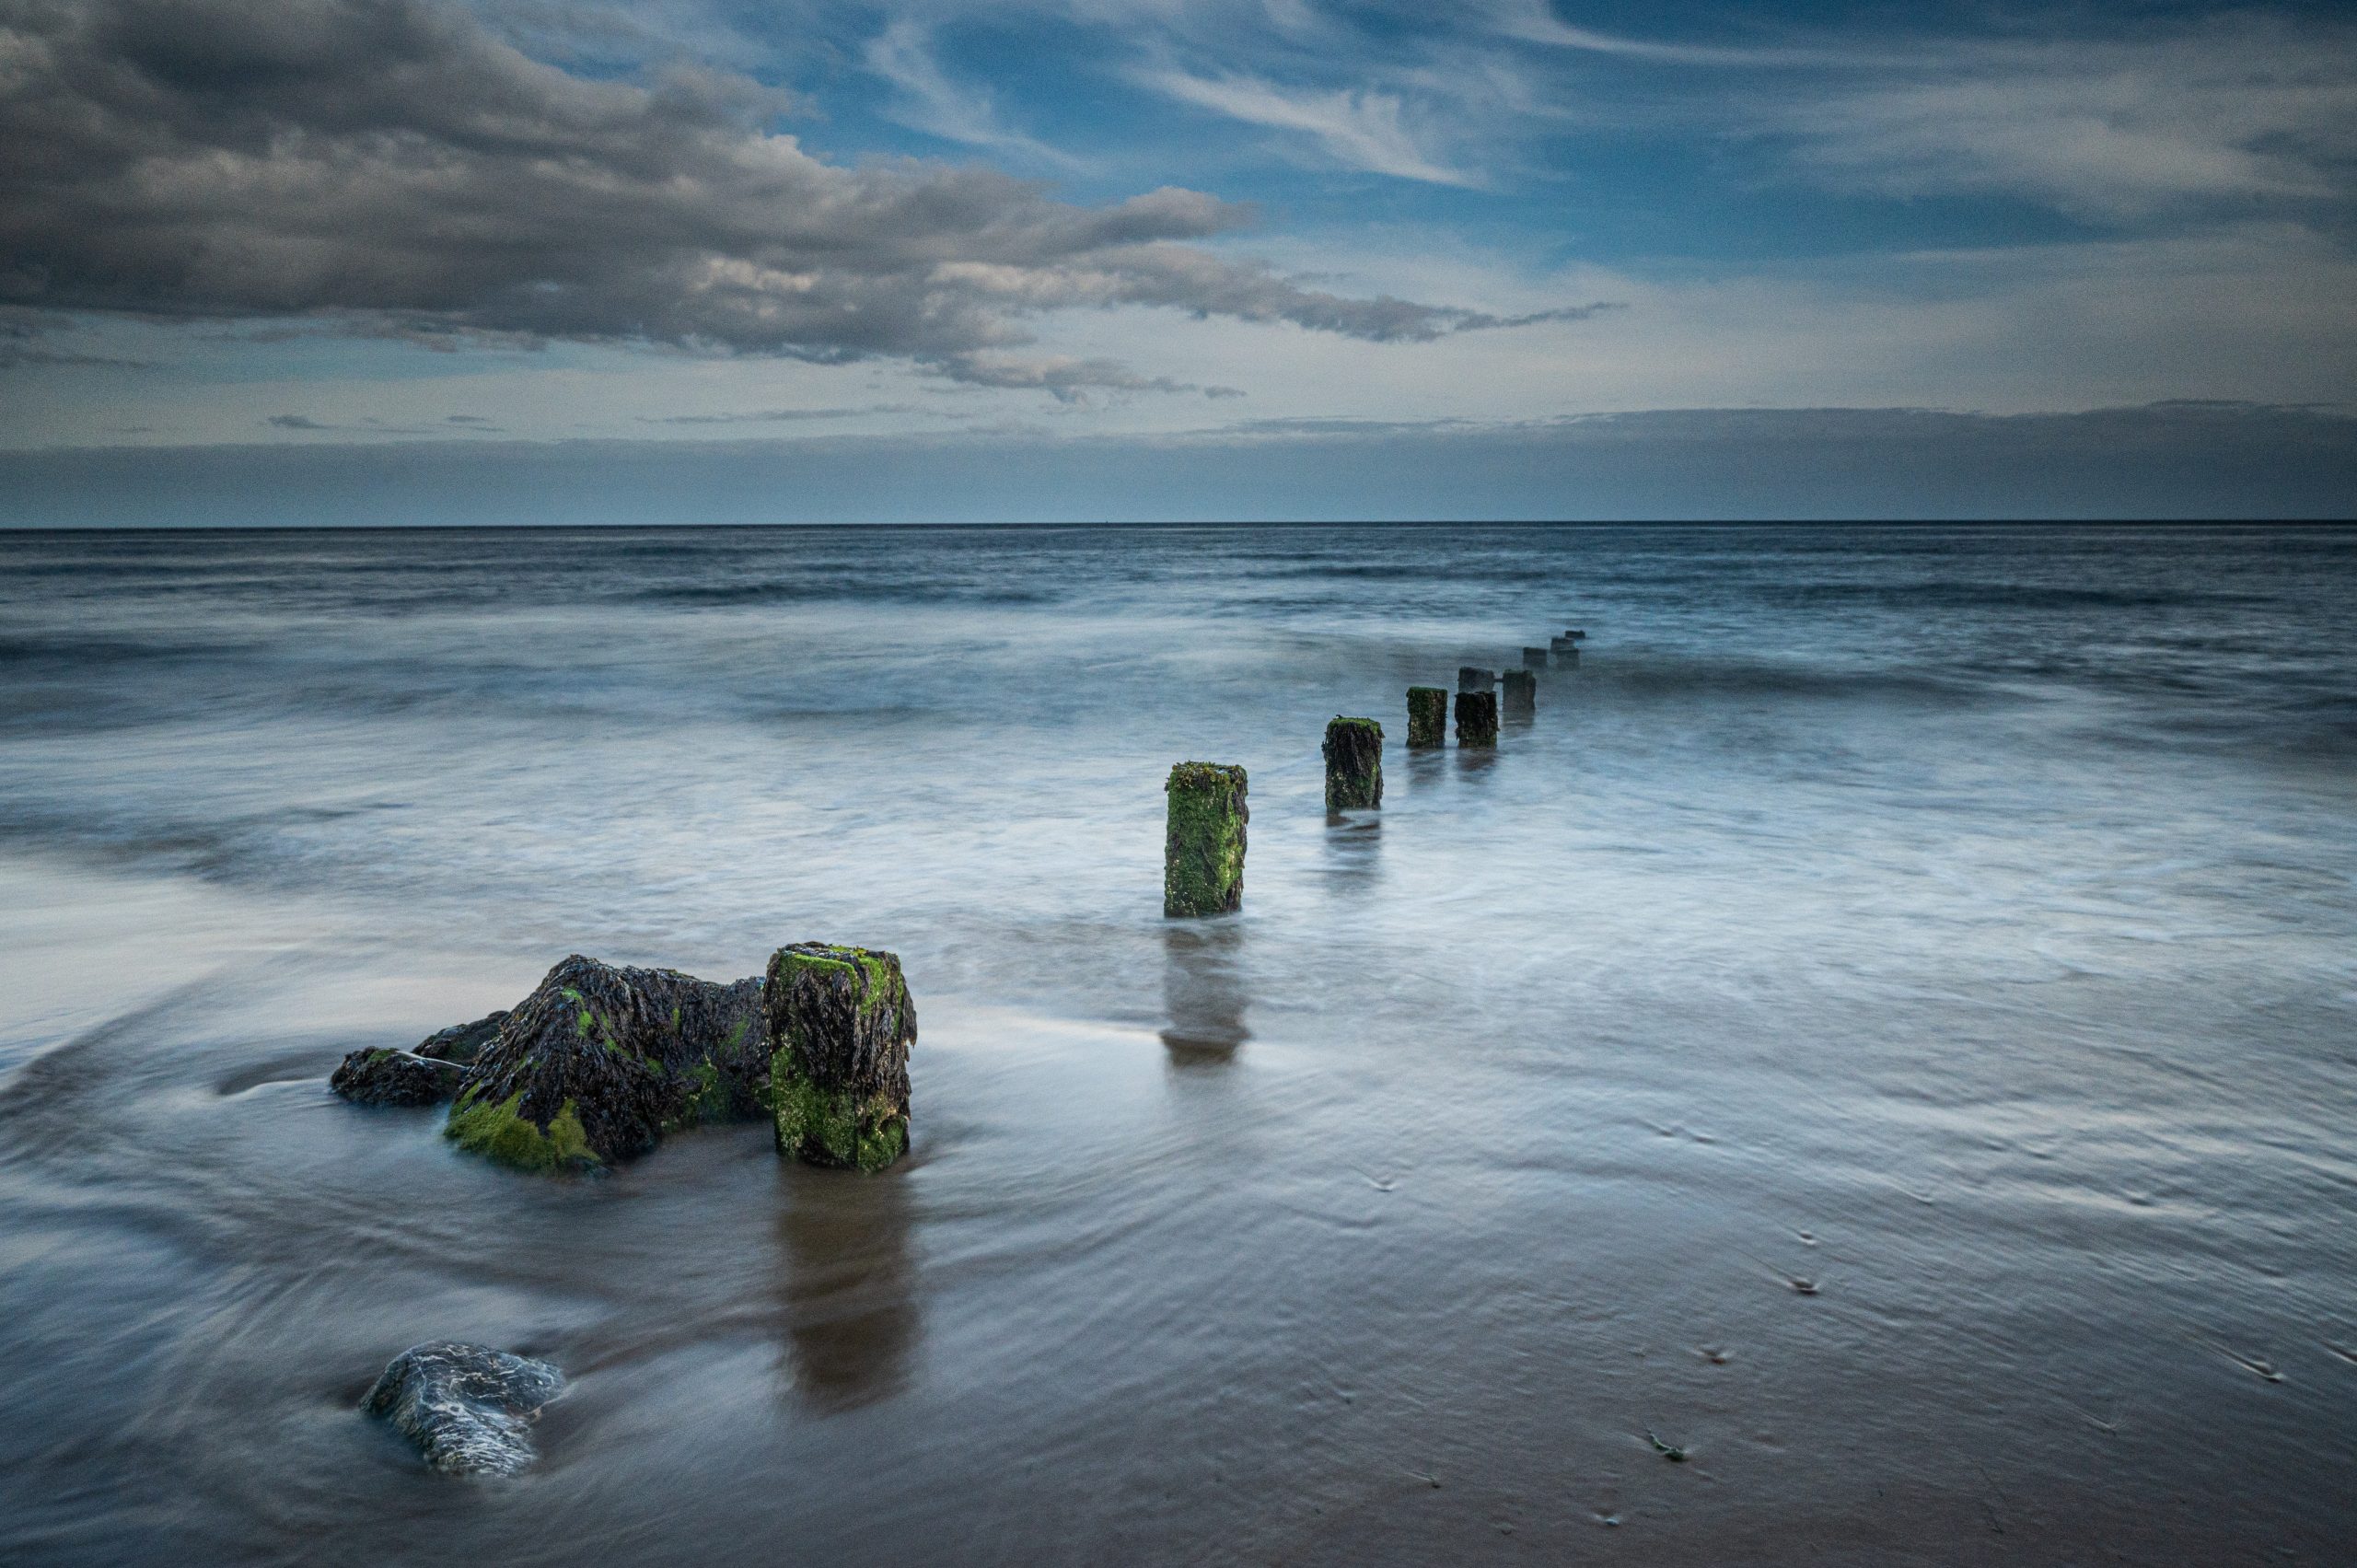
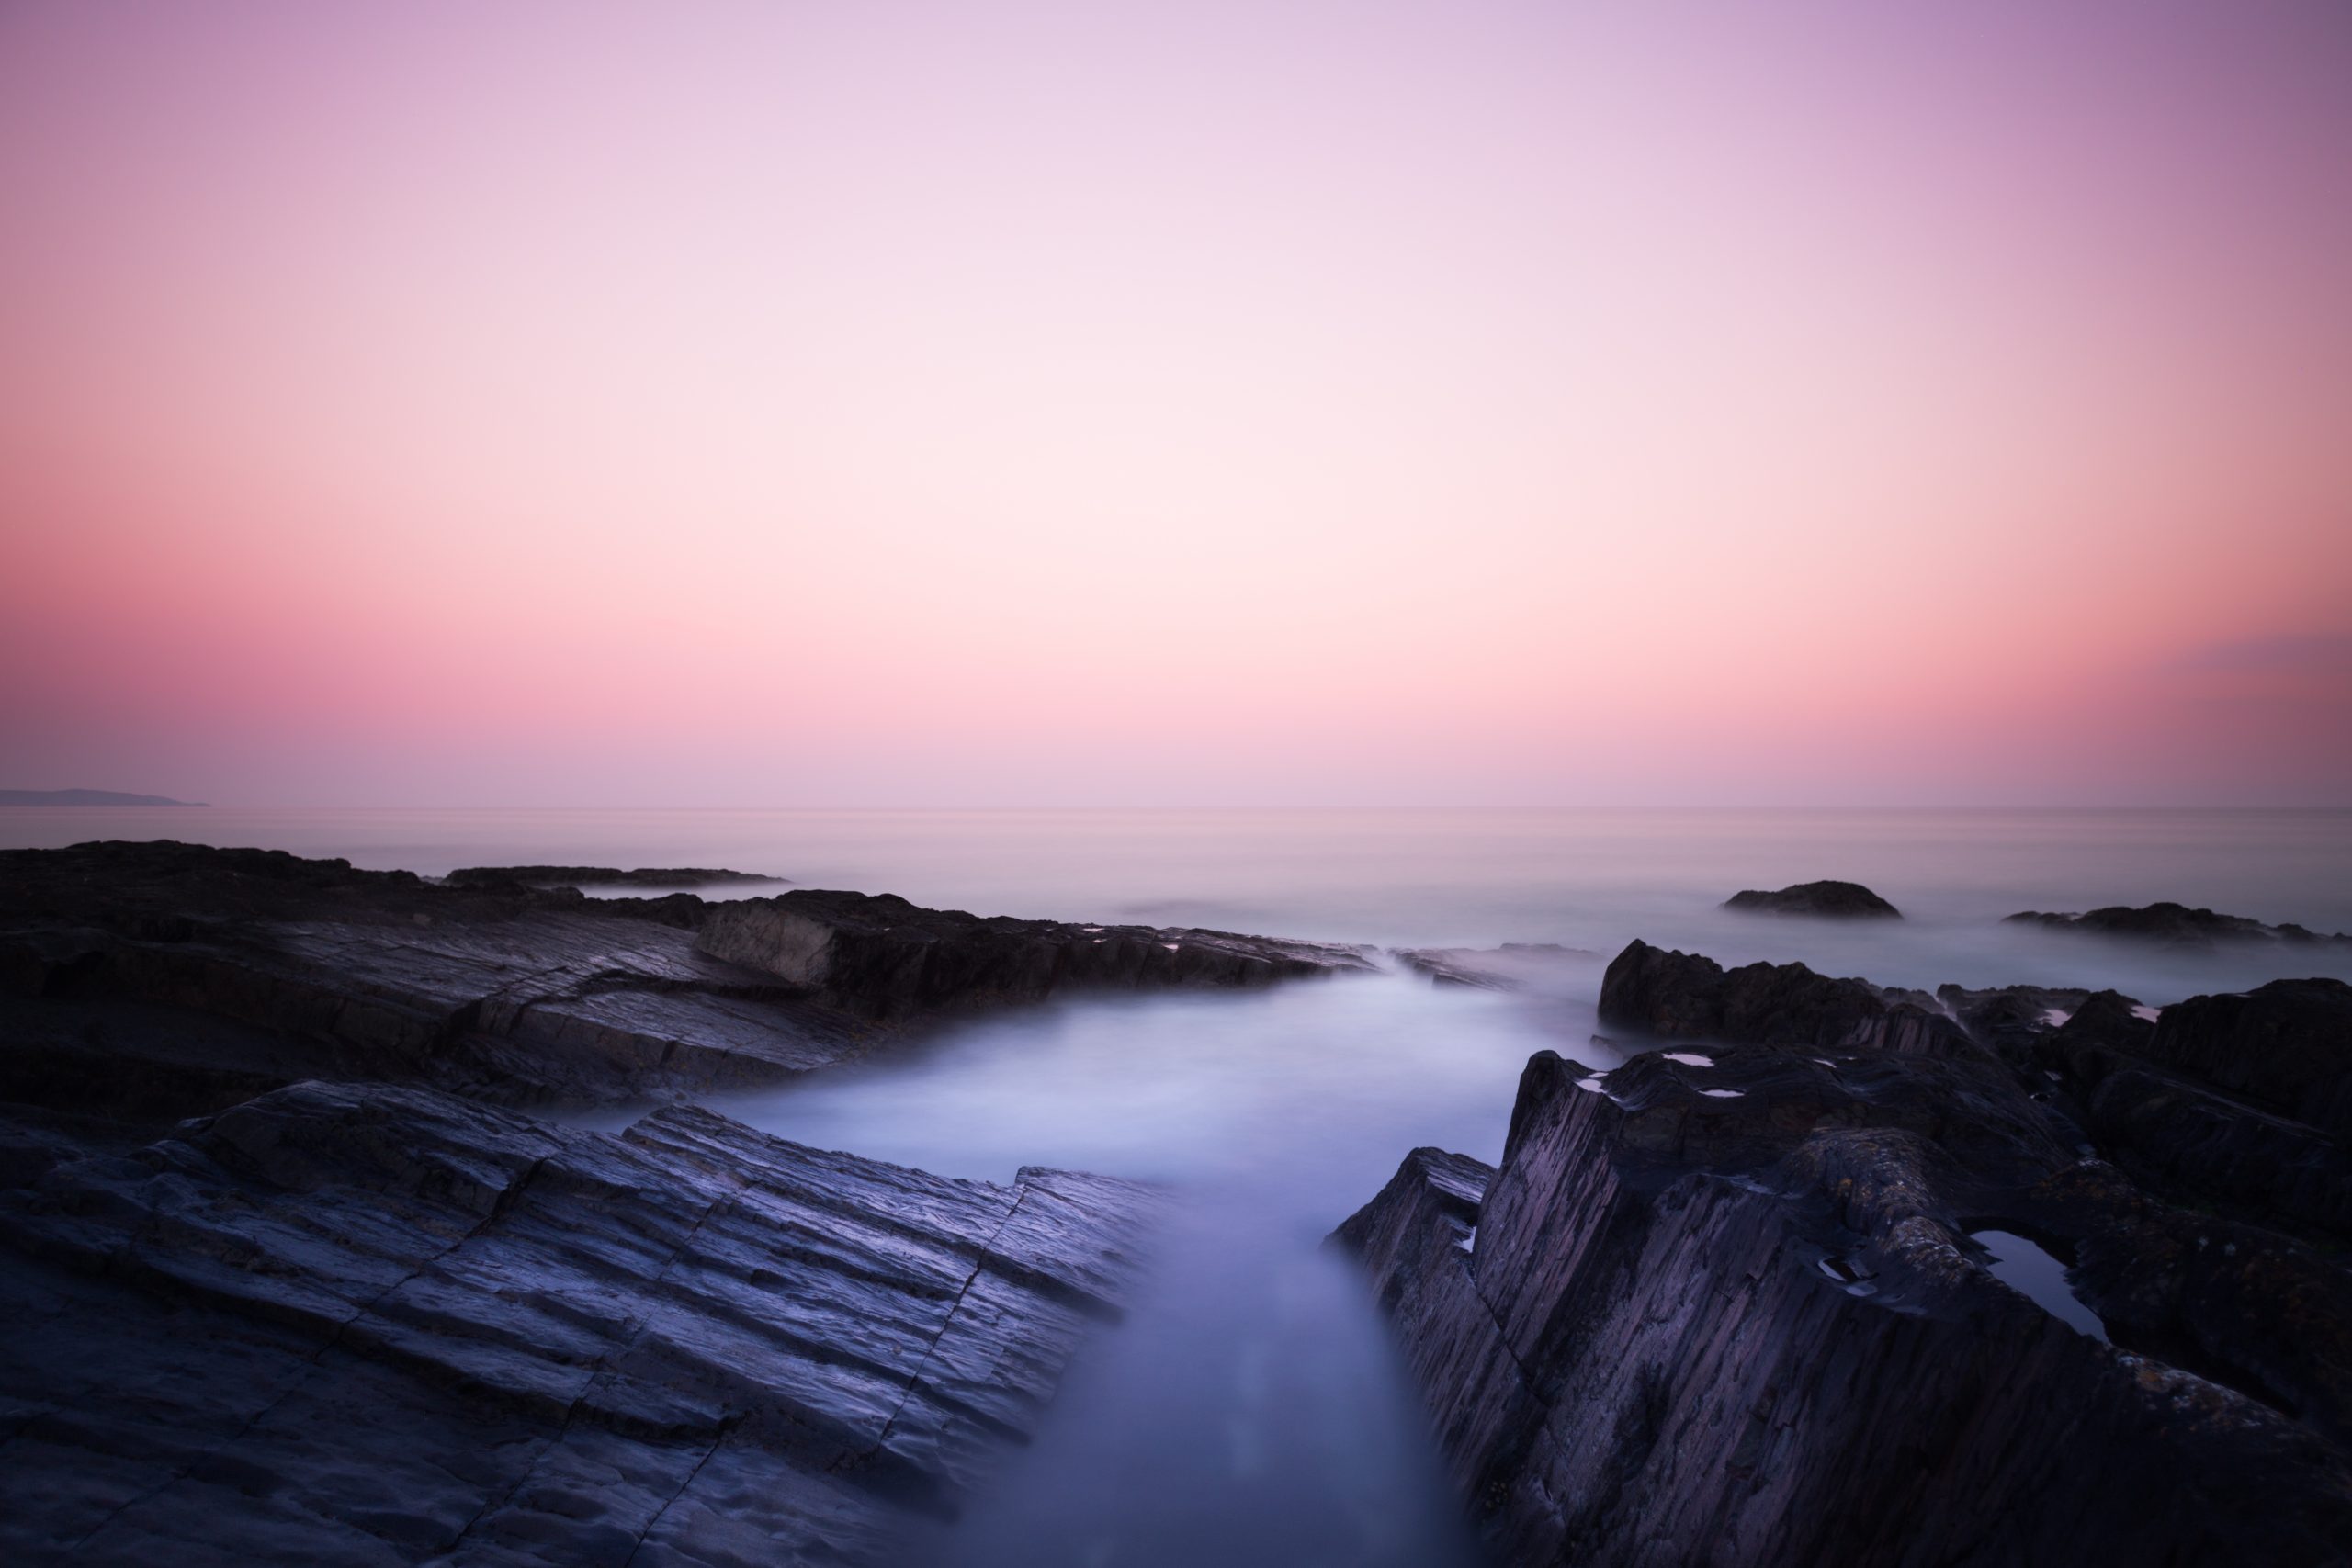
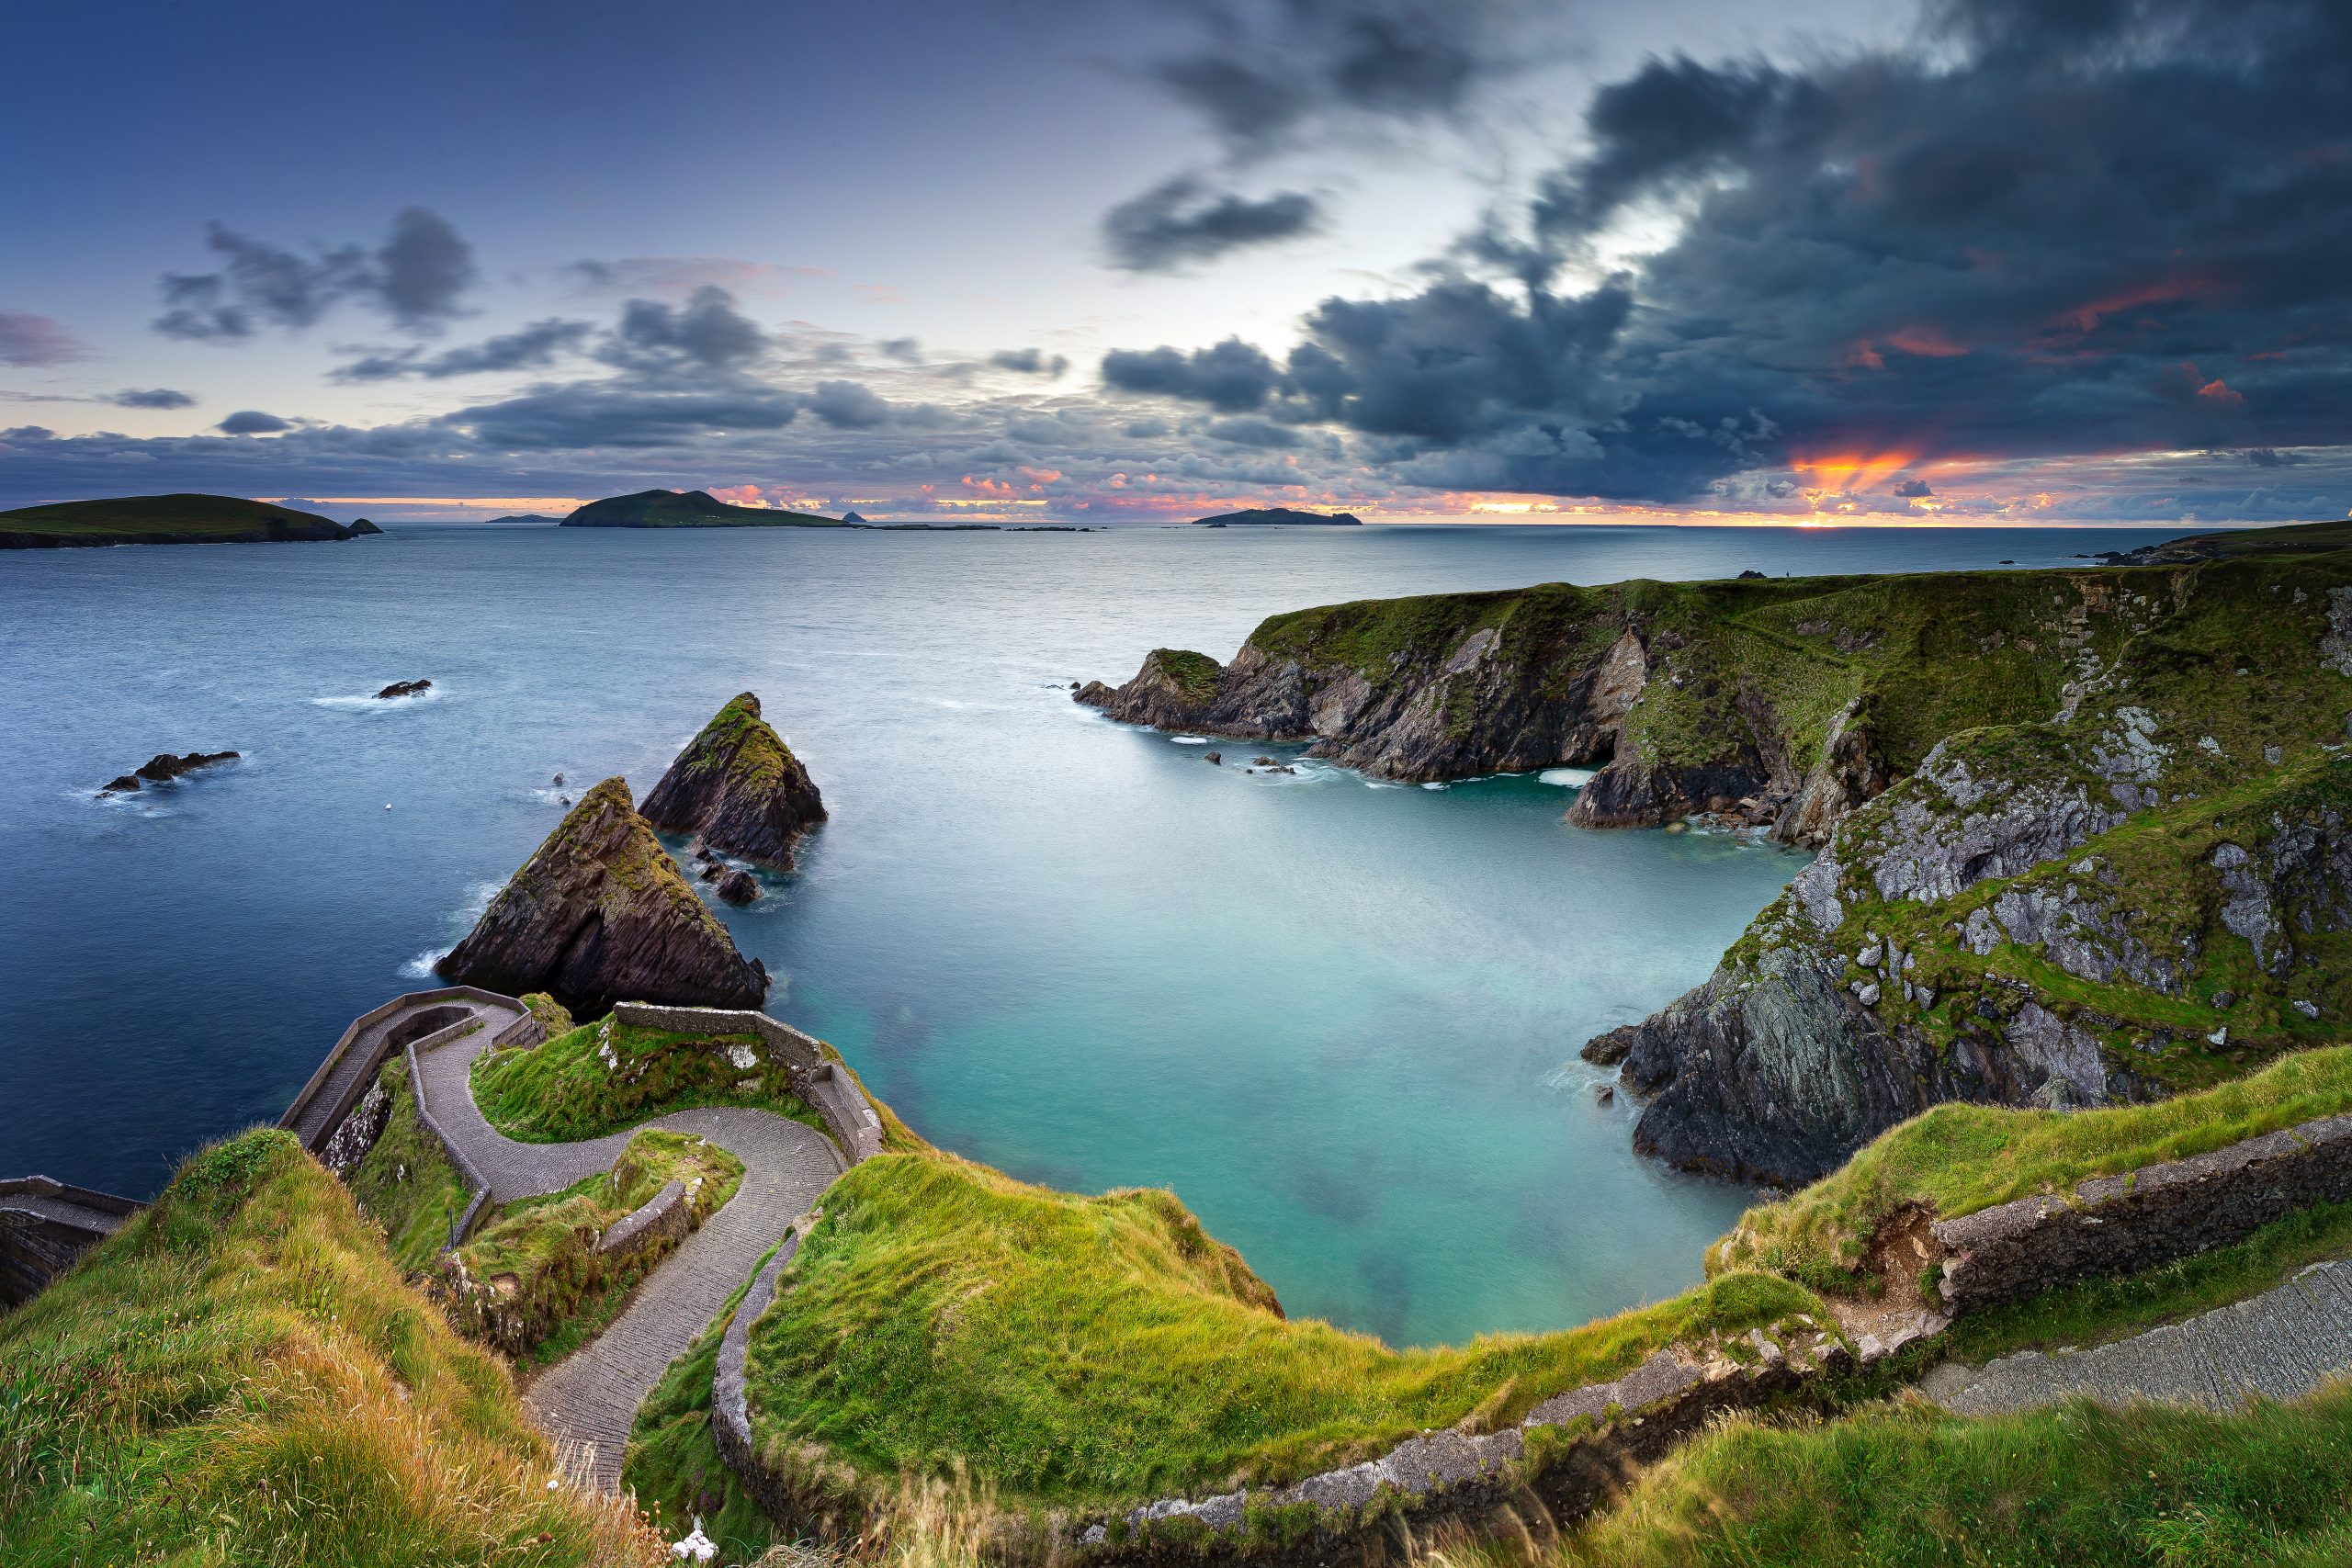
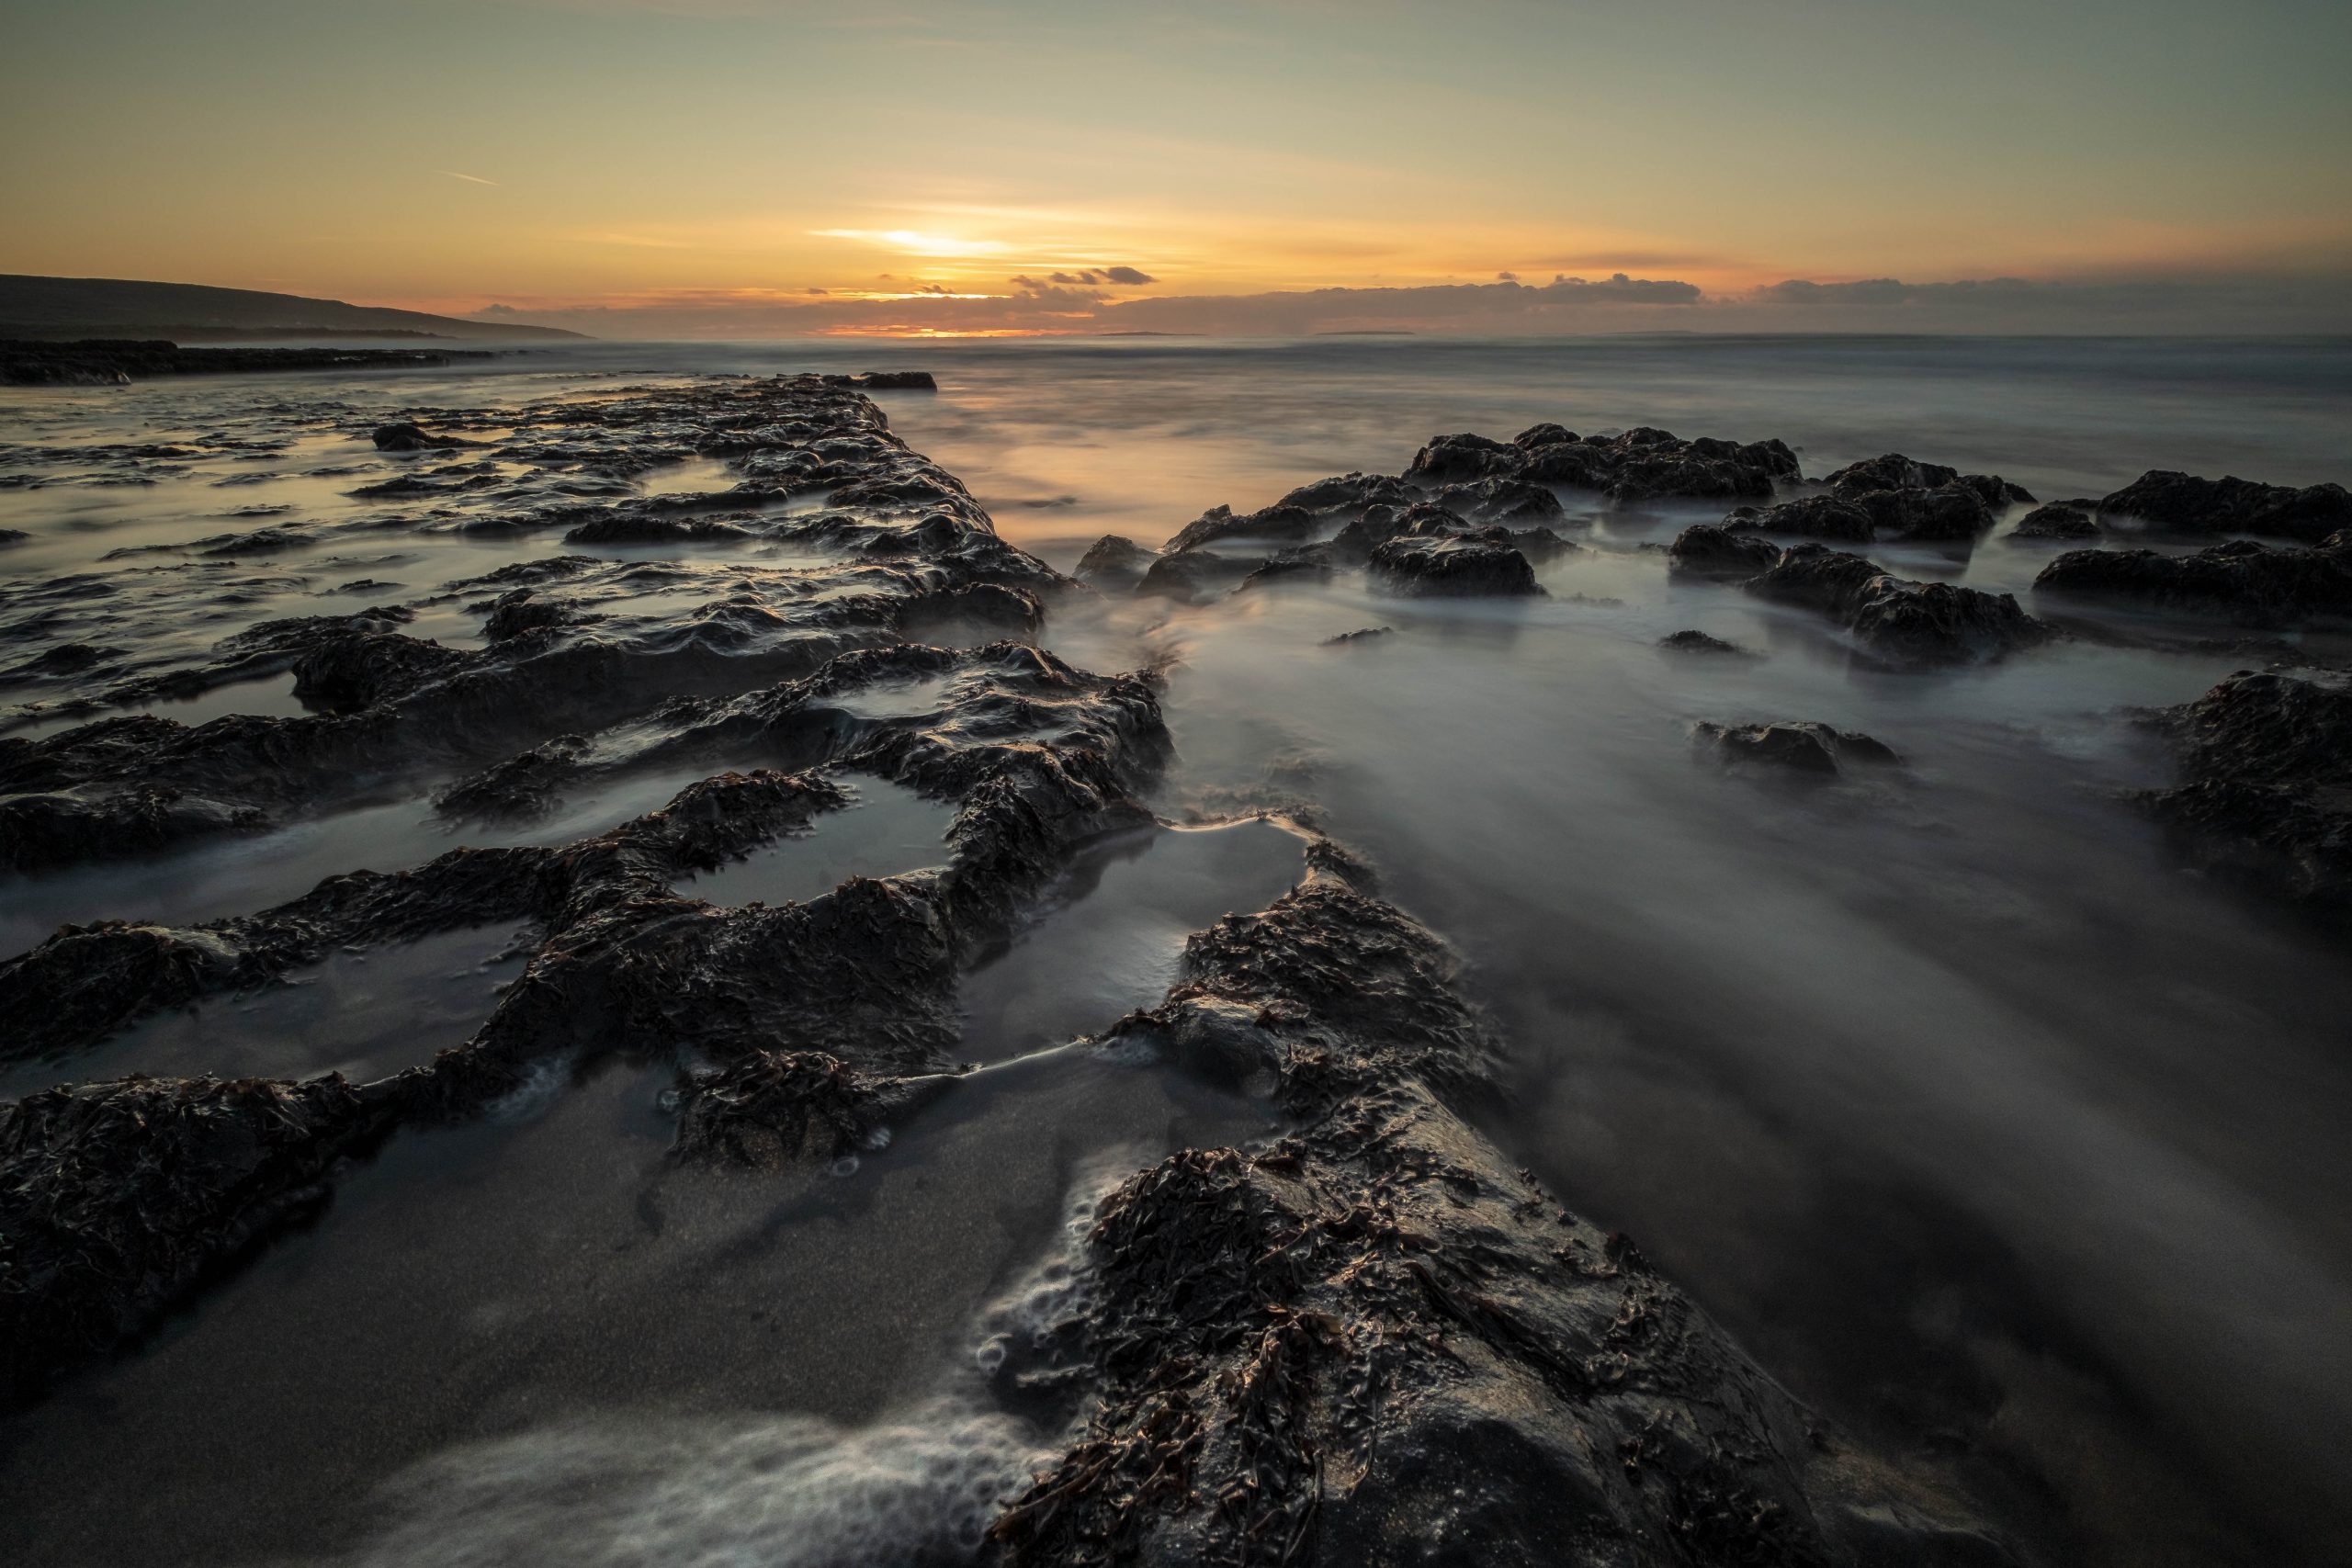
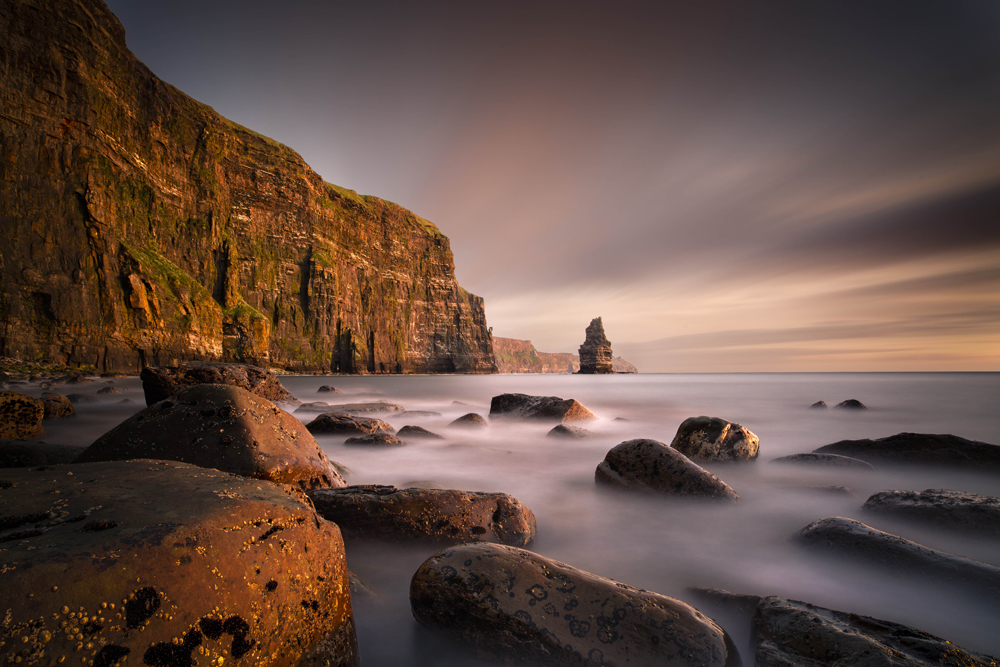
Once you’ve chosen an overall theme, you can narrow down your options by deciding what kind of impact you’re after. A grouping of black and white photos creates a seamless visual effect that draws people in to have a closer look. A selection of seascape images from a macro shot of a pebble all the way to a panoramic view of the ocean can trigger memories and foster a soothing mood.

Consider the environment you’ll be creating your wall in. It’s best to keep things simple in a room with an already colourful palette or to use your gallery wall as a way to bring interest in a neutral setting.
Presentation is key
Now that you’ve chosen the pieces you want to display, the next step is to select how you’re going to present them. There are several ways to go about this.
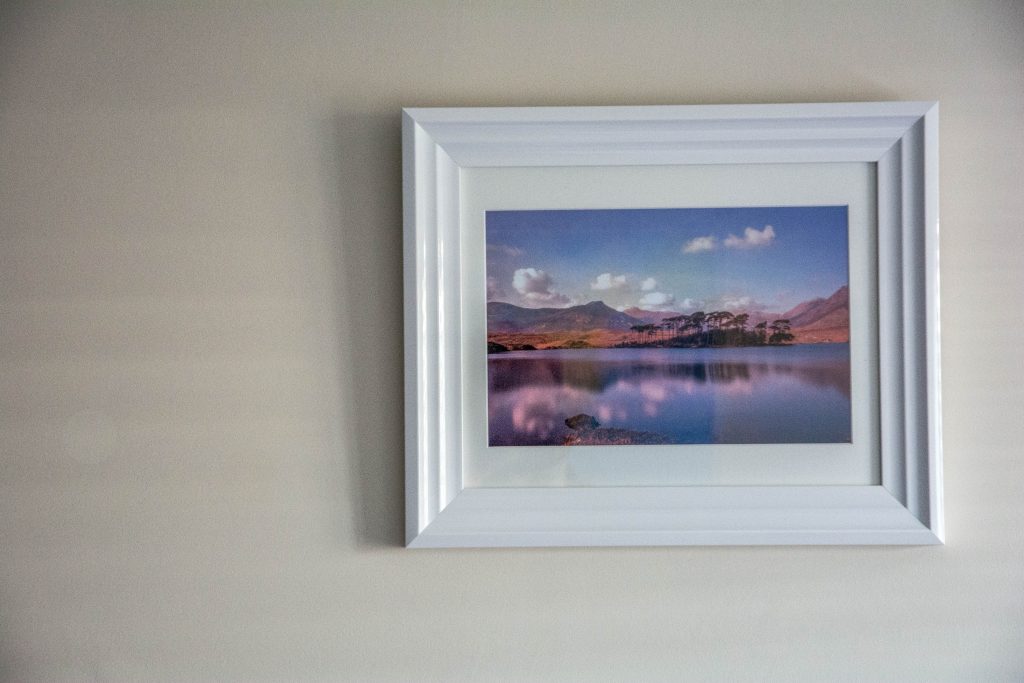
Using identical or similar frames, such as classic black or white frames with white or cream mountboards, is a good way to tie an eclectic collection together or to create an overall minimalist look. You can add a bit of dimension by choosing frames of varied width and depth.

If uniformity is not your cup of tea and you want to emphasize the quirkiness of your artwork or create a focus wall that’s artistic in its own right, then you have a myriad of options. From a mix of frames in a variety of sizes, colours and profiles, to reclaimed wood boxes or windows, all the way to a blend or canvas artwork and framed photos, the possibilities are literally endless.

In the end, there is no right or wrong option. Choose frames that complement your artwork and décor or that make a statement.

Putting it all together
Still feeling tentative? Here’s a simple way to ensure a perfect result. Cut paper (leftover Christmas wrapping paper, craft paper or newspaper will do) the exact size of each artwork you want to display and label them. Make sure to mark or punch a hole through where the hook will need to go. It’ll save you some time later.
Place the paper cut-outs on your wall with cellotape and move them around until you find an arrangement you like. Keep them about 30 cm above any furniture. It’s easier to start with your largest piece, which will likely end up being your focal point. Set it in the centre for a symmetrical grouping or to the side to draw the eye in one direction. Once you’ve chosen a spot for it, arrange the other pieces around or to the left or right depending on where you set the large piece. If all your frames are of identical size, consider lining them up for a neat effect.


Leave 2-3 cm between each frame so that your pieces don’t end up blending into one another. If you’re displaying a macro photo divided into sections or a tryptic, then put the frames closer.

Like what you see? Since you already marked where to put the hooks, simply nail or drill through the templates, then rip the cut-outs one at a time as you replace them with the appropriate frames. If you live near a busy street or your walls are uneven, use some blu tack to ensure they stay put and level.
Creating a gallery wall is a simple way to make a statement or to fill a large space in a very personal way. You’re only limited by your imagination. If you’re not sure what to buy to create your gallery wall, just contact us and we’ll be happy to help you choose the right artwork to create or complete the perfect wall.
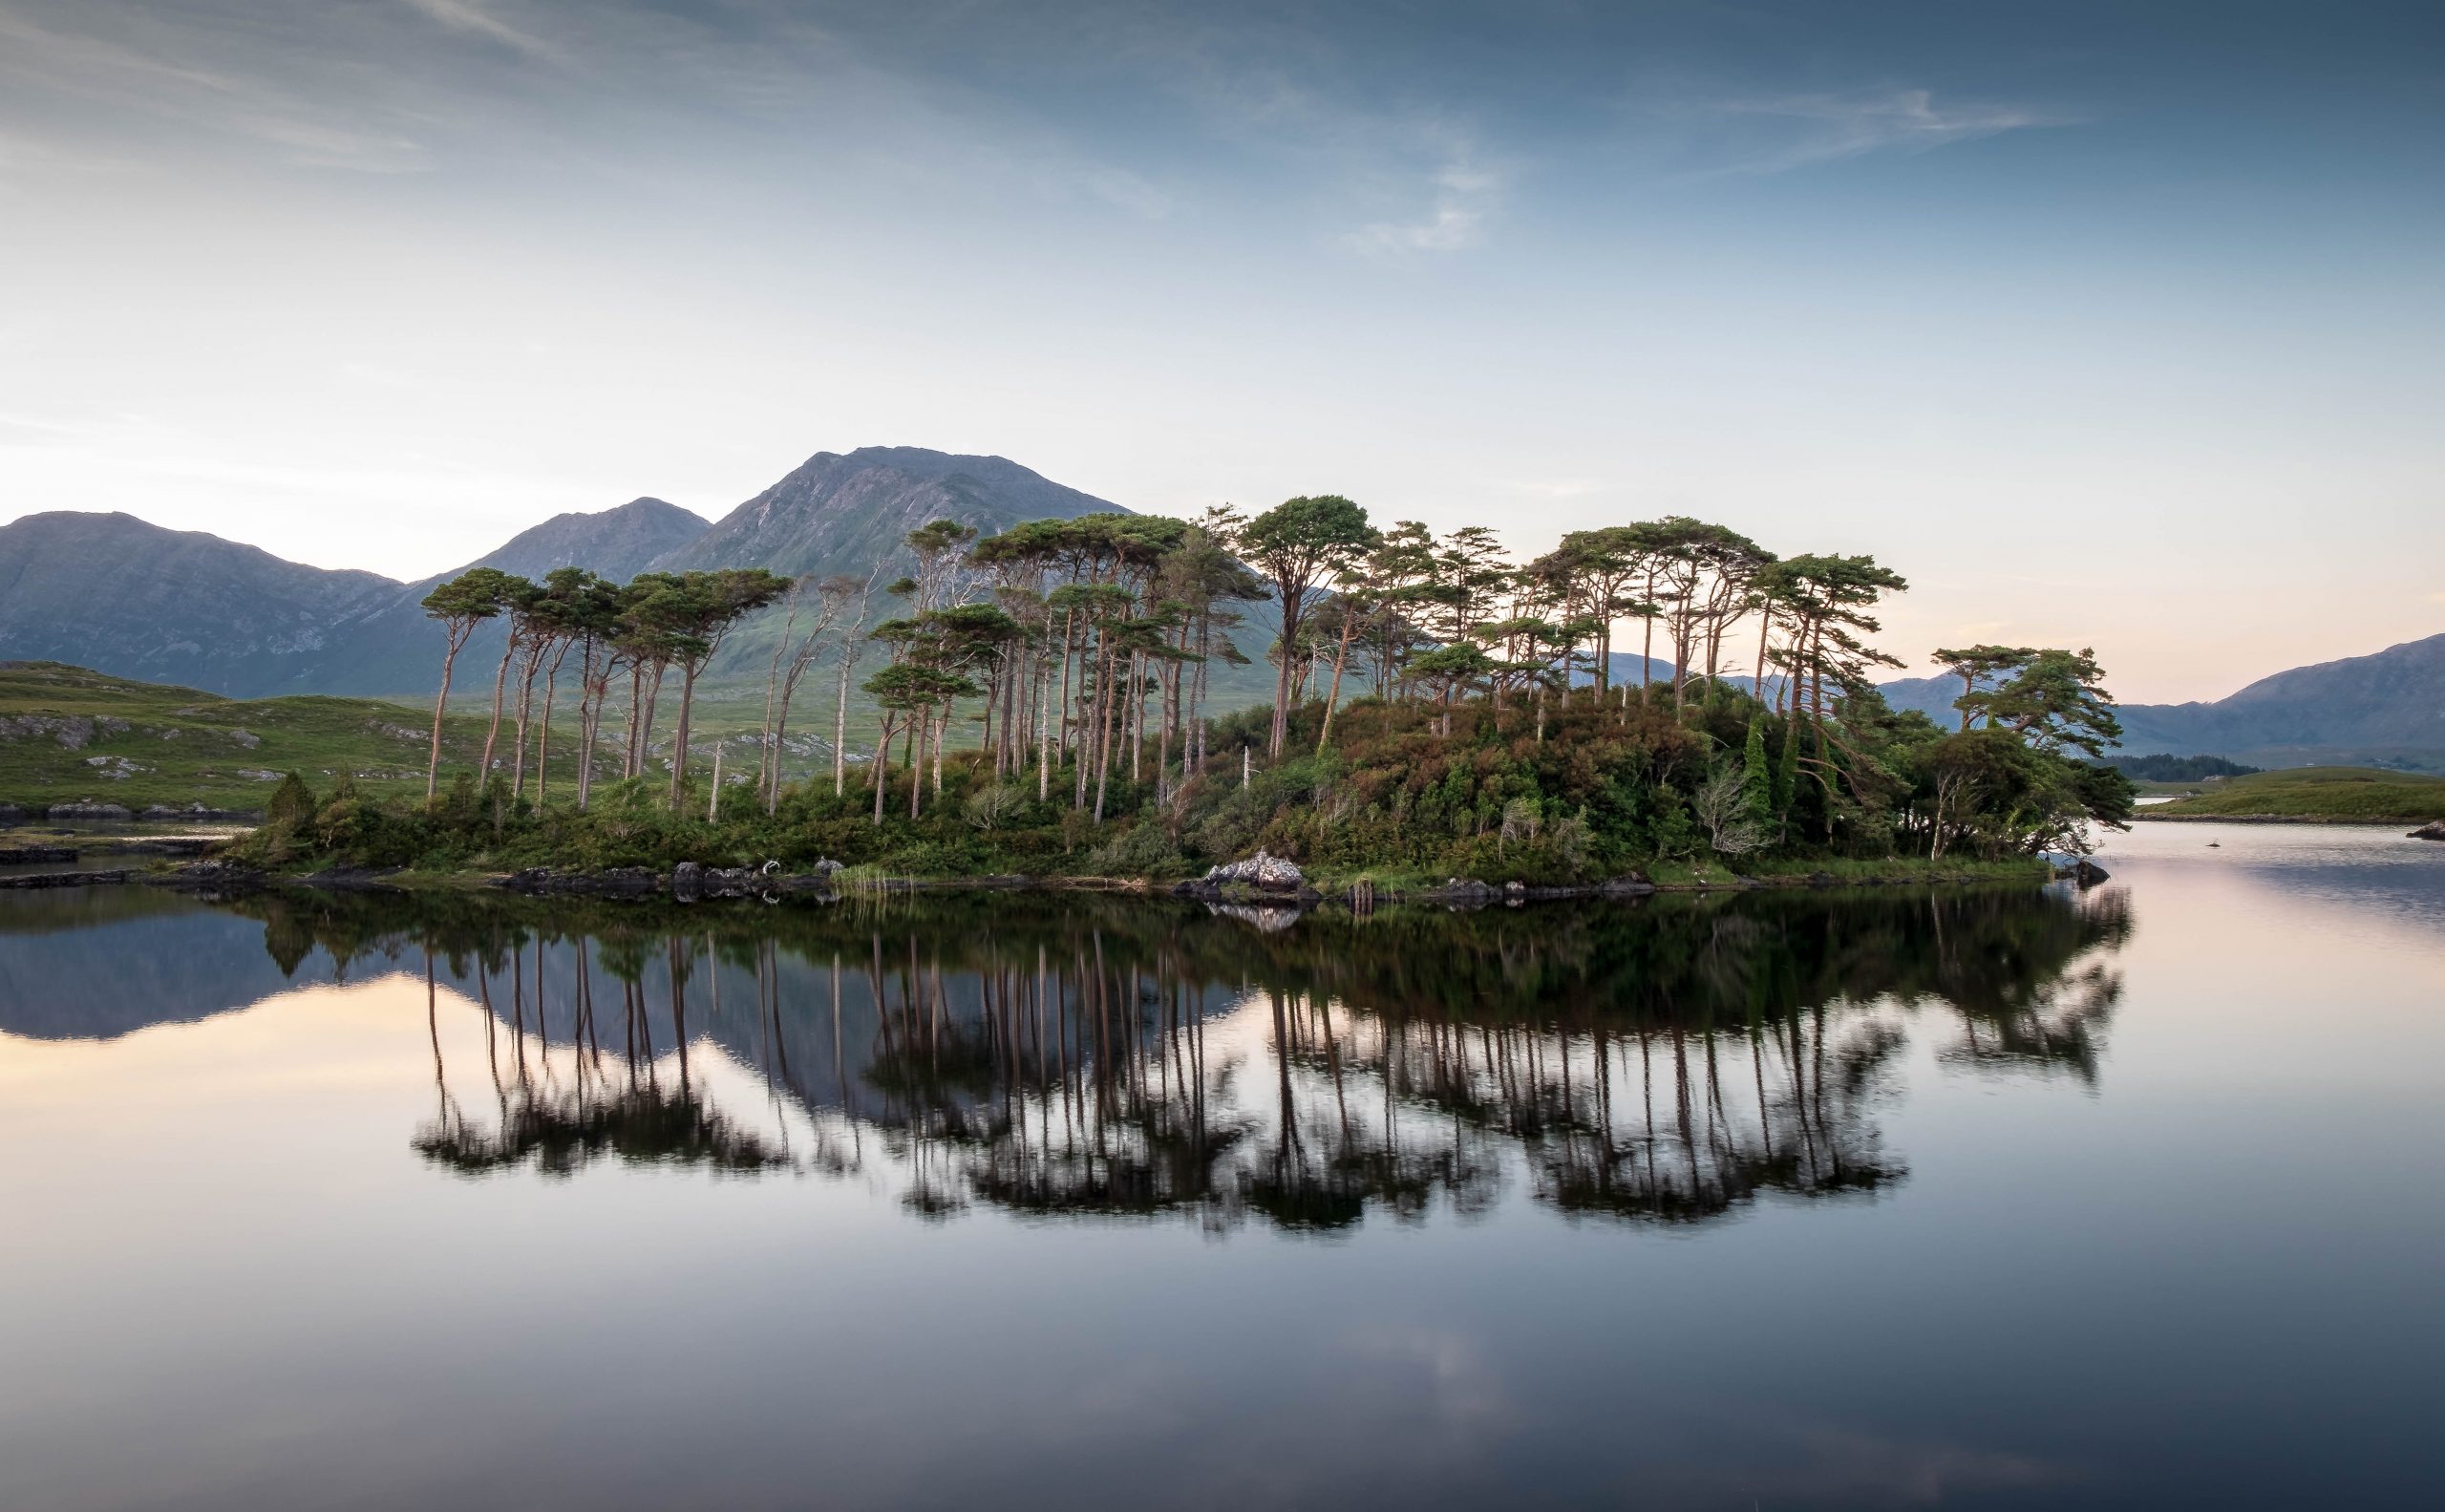 Derryclare Lough by Richie Moylan
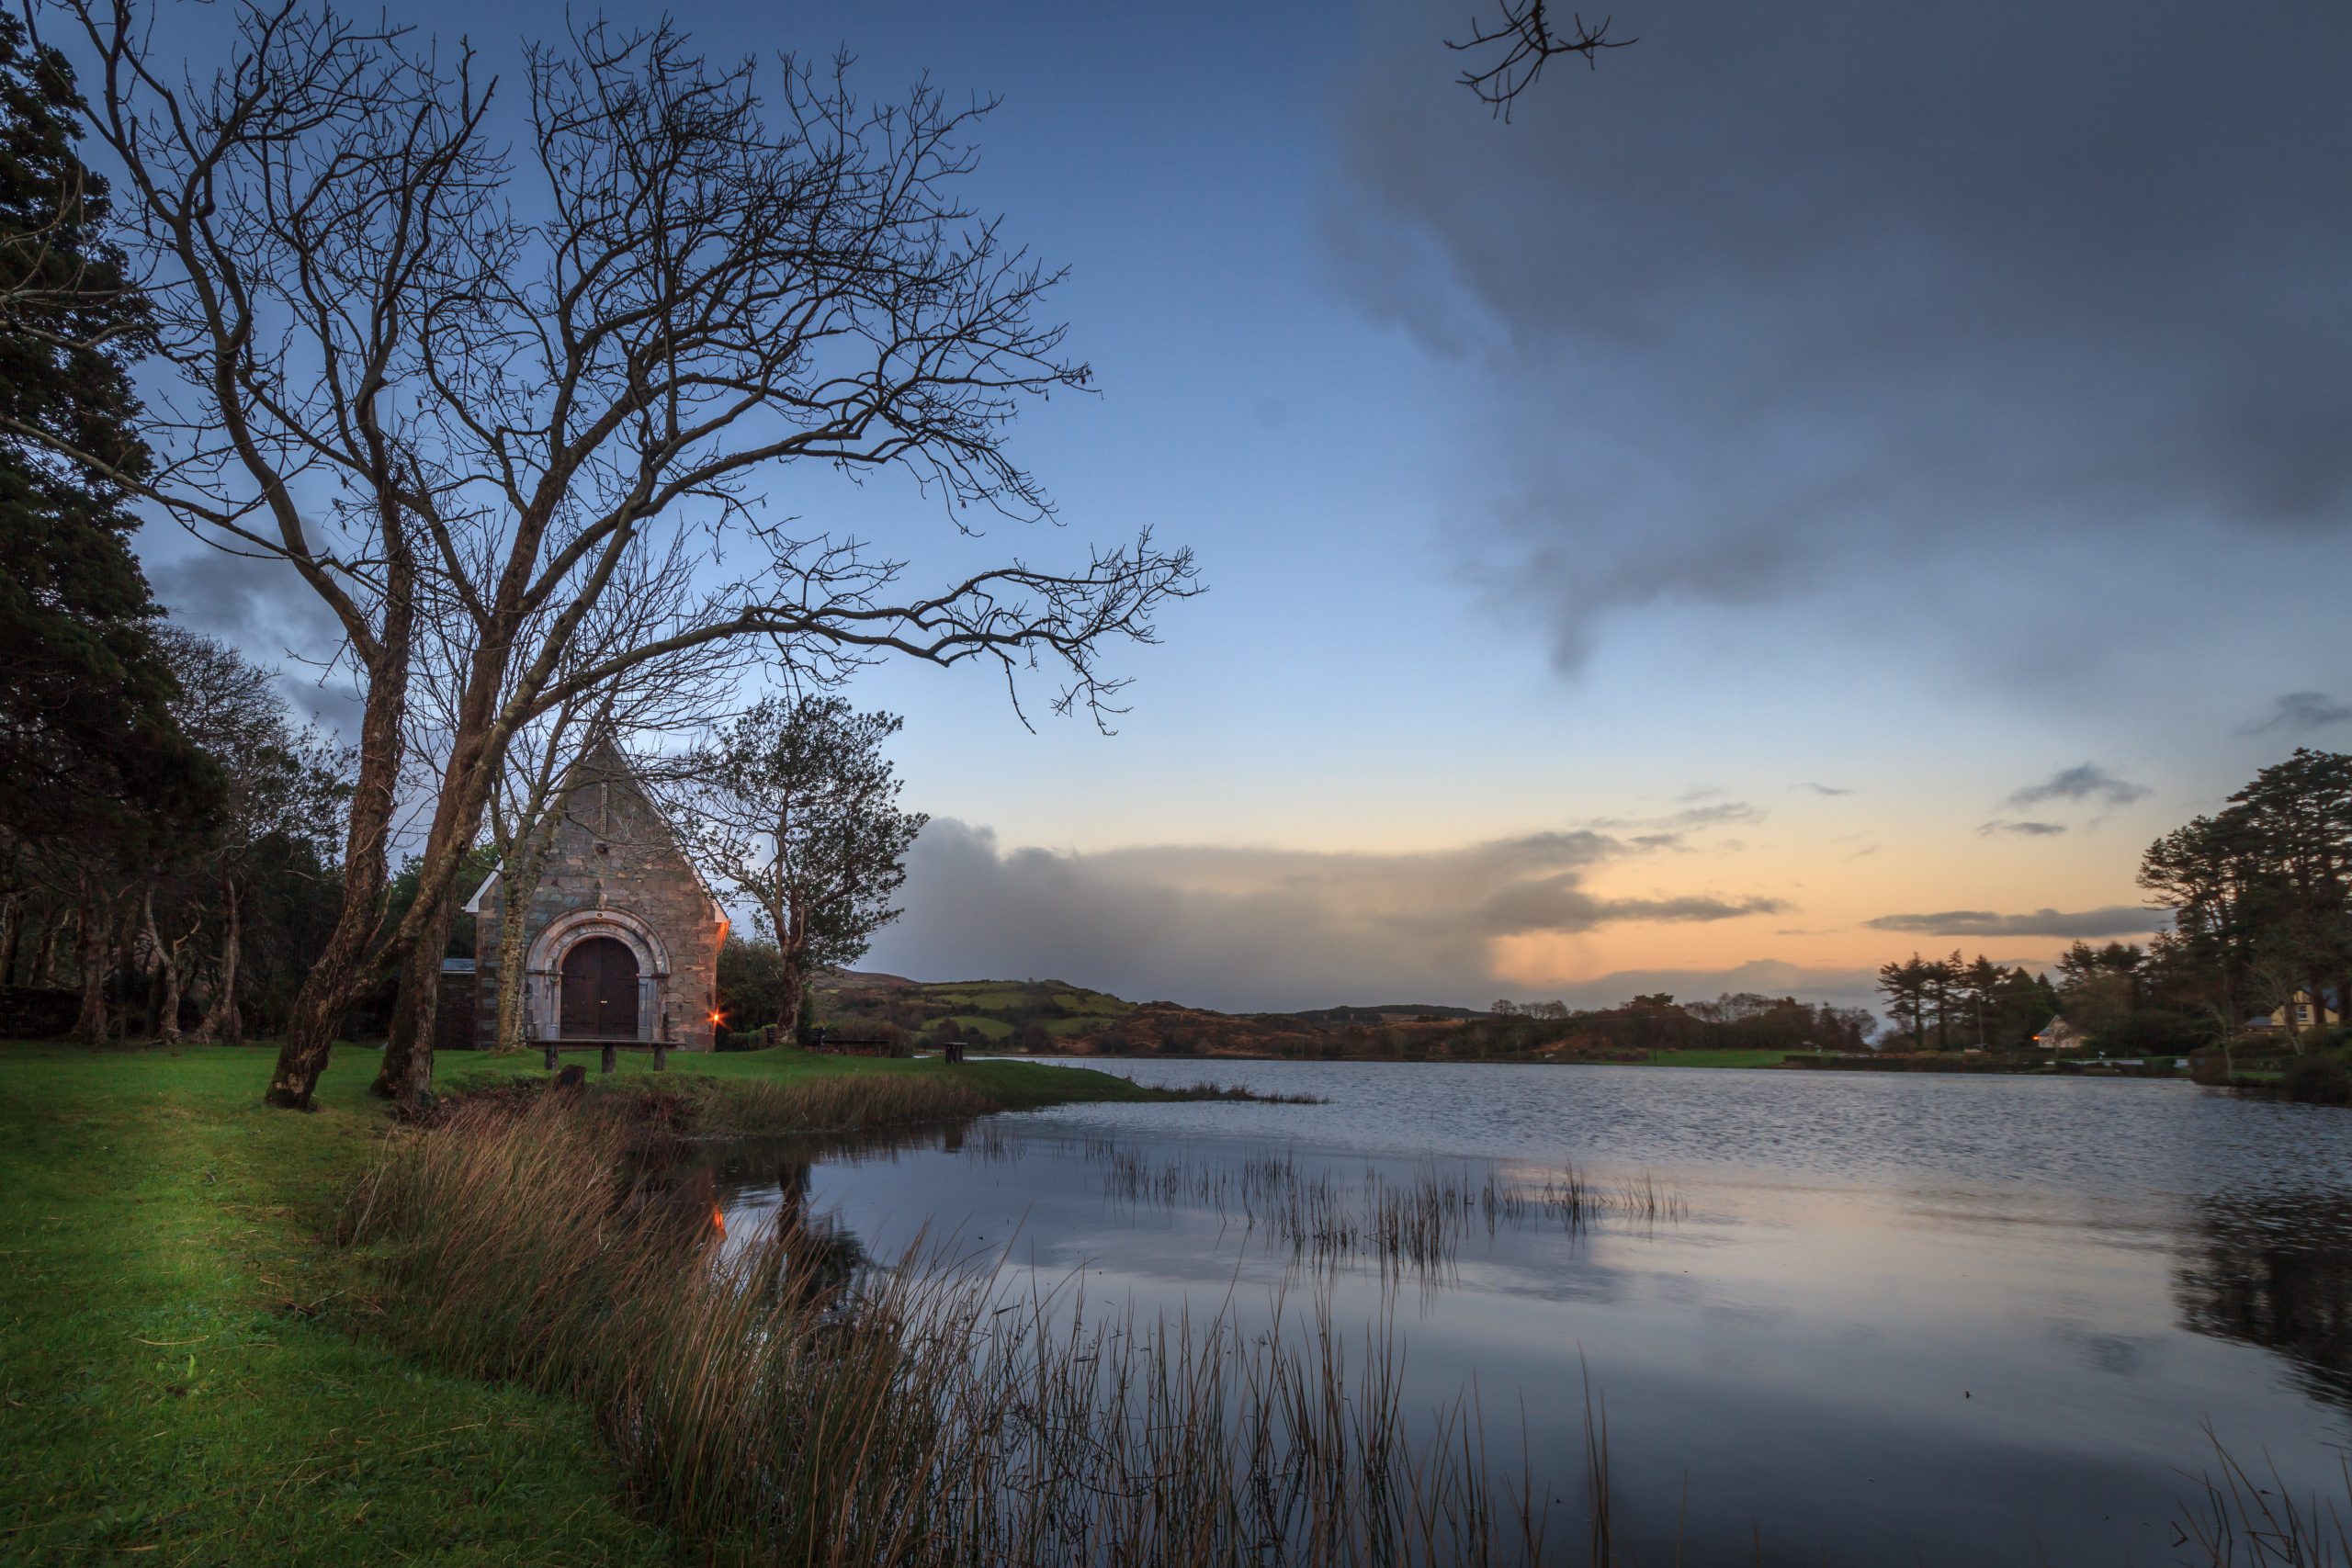 Gougane Barra Sunset by John Hurley
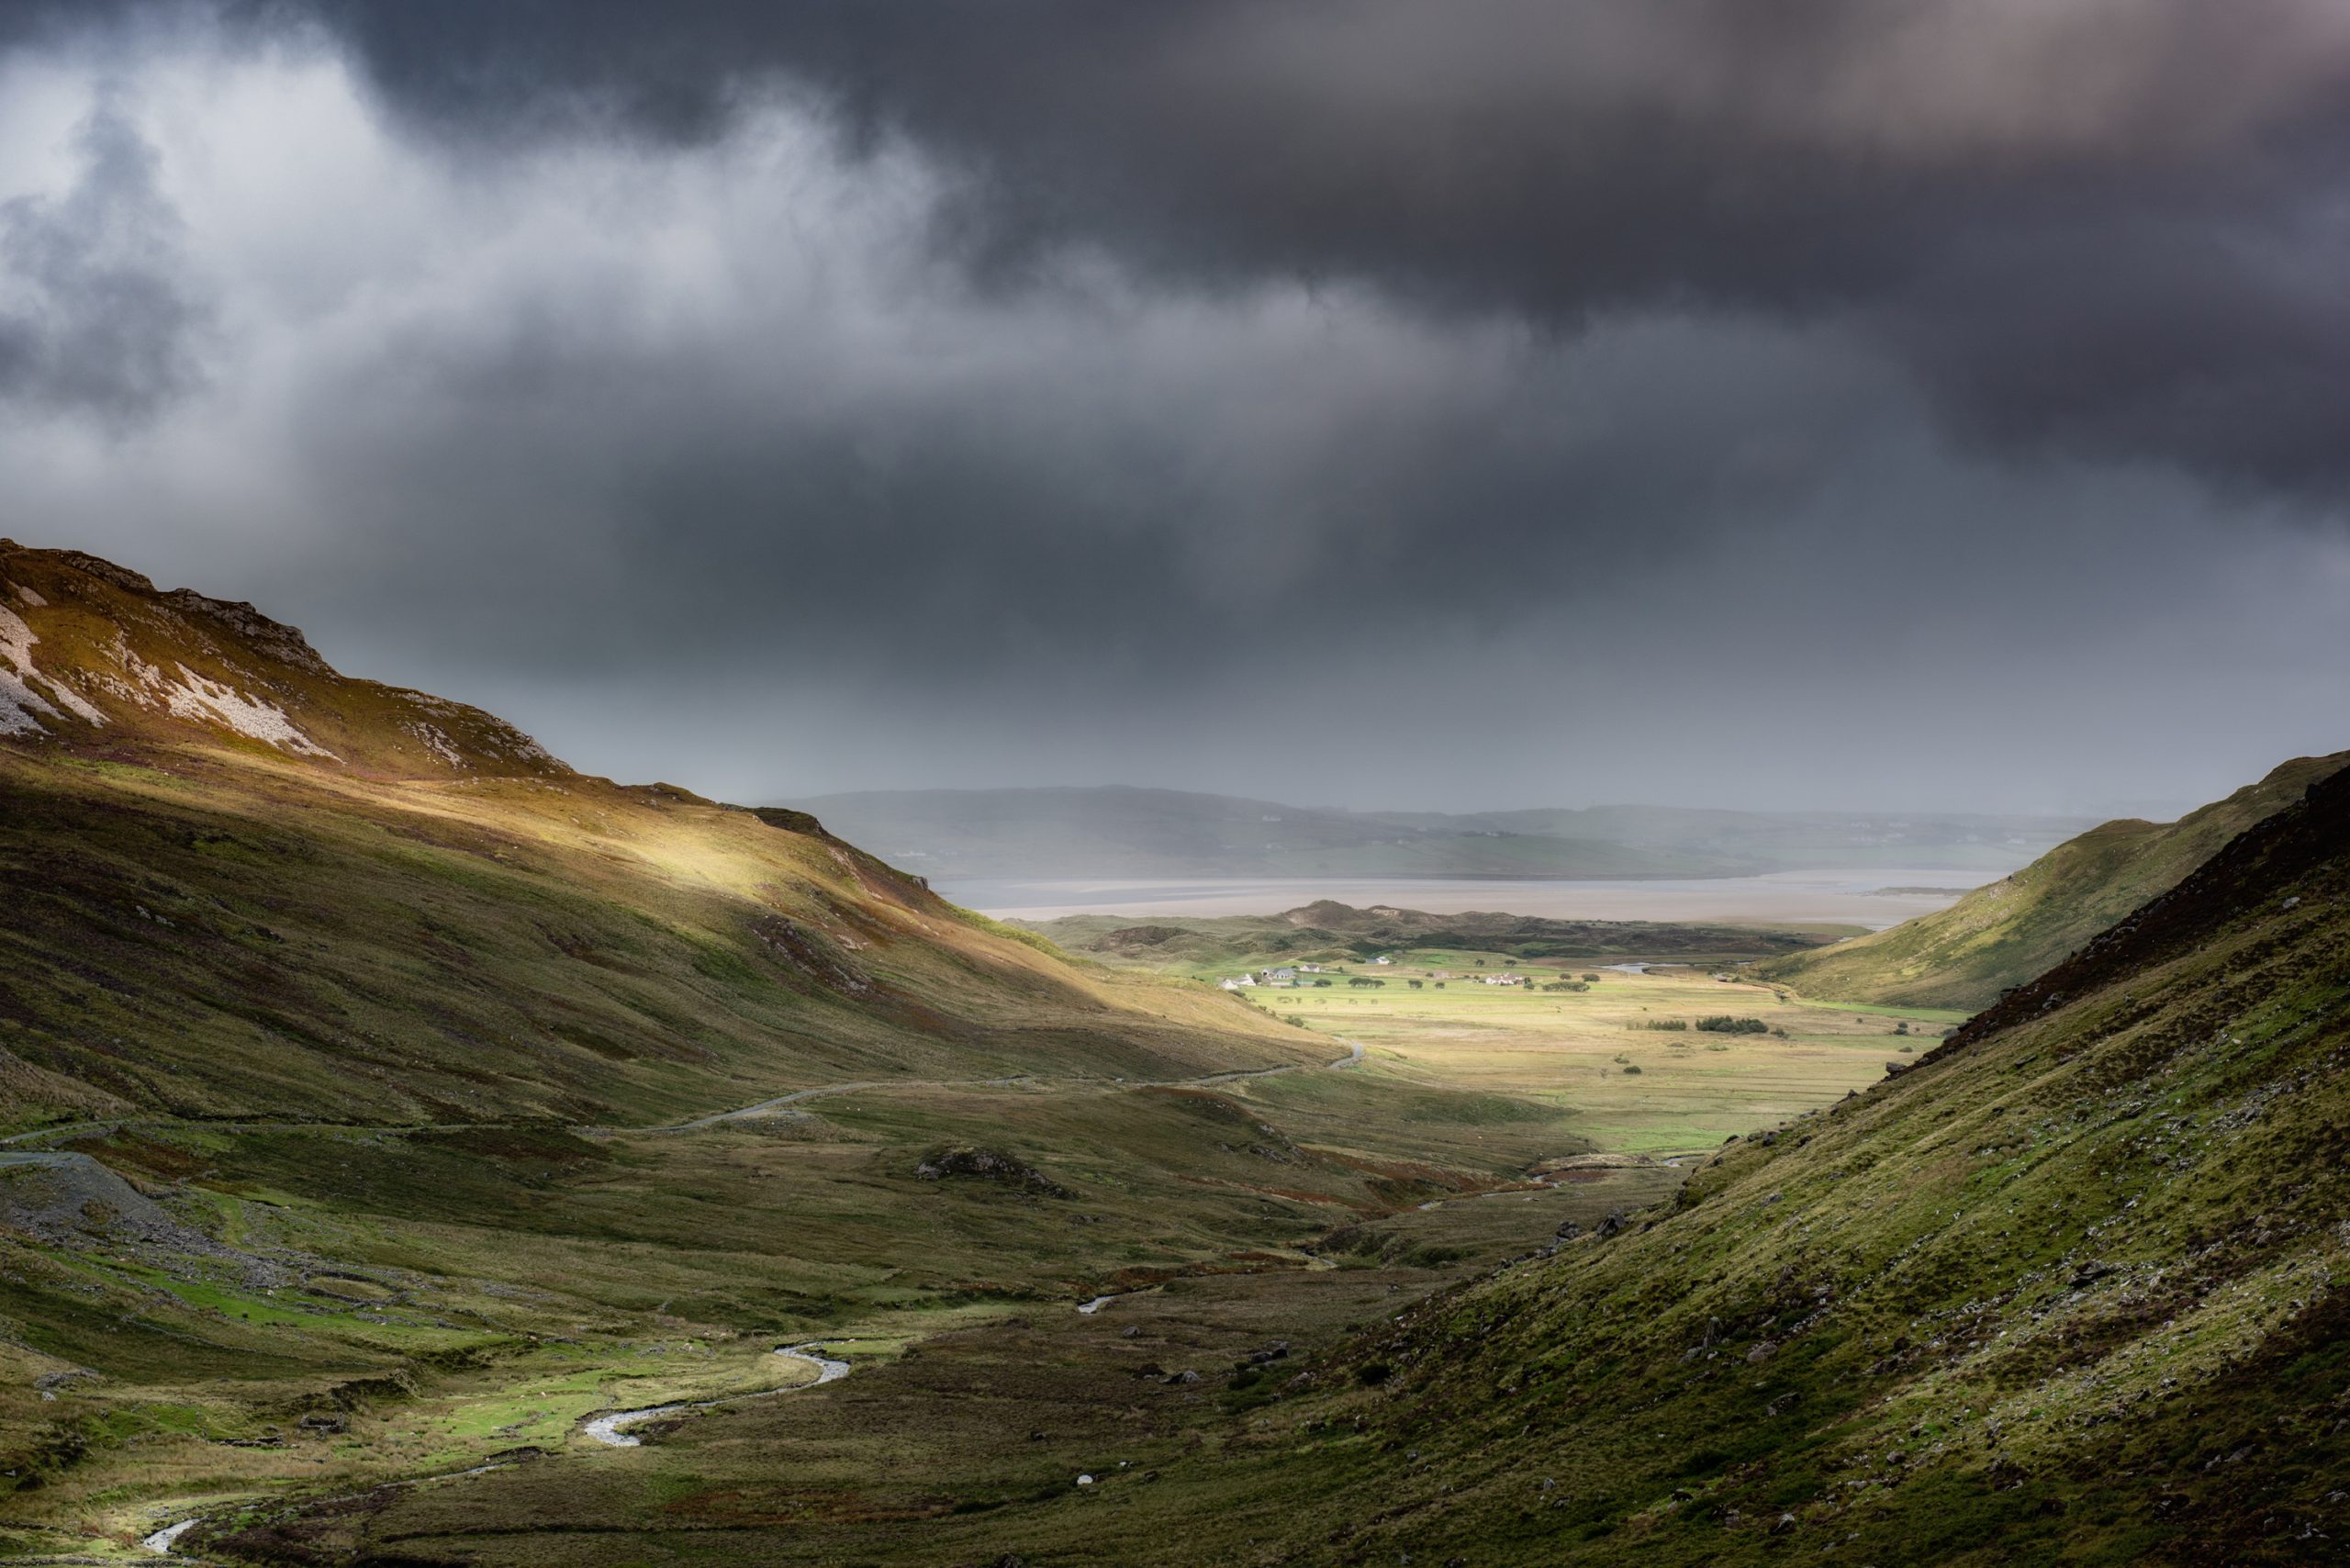 The Pass at Glengesh by Trevor Cole
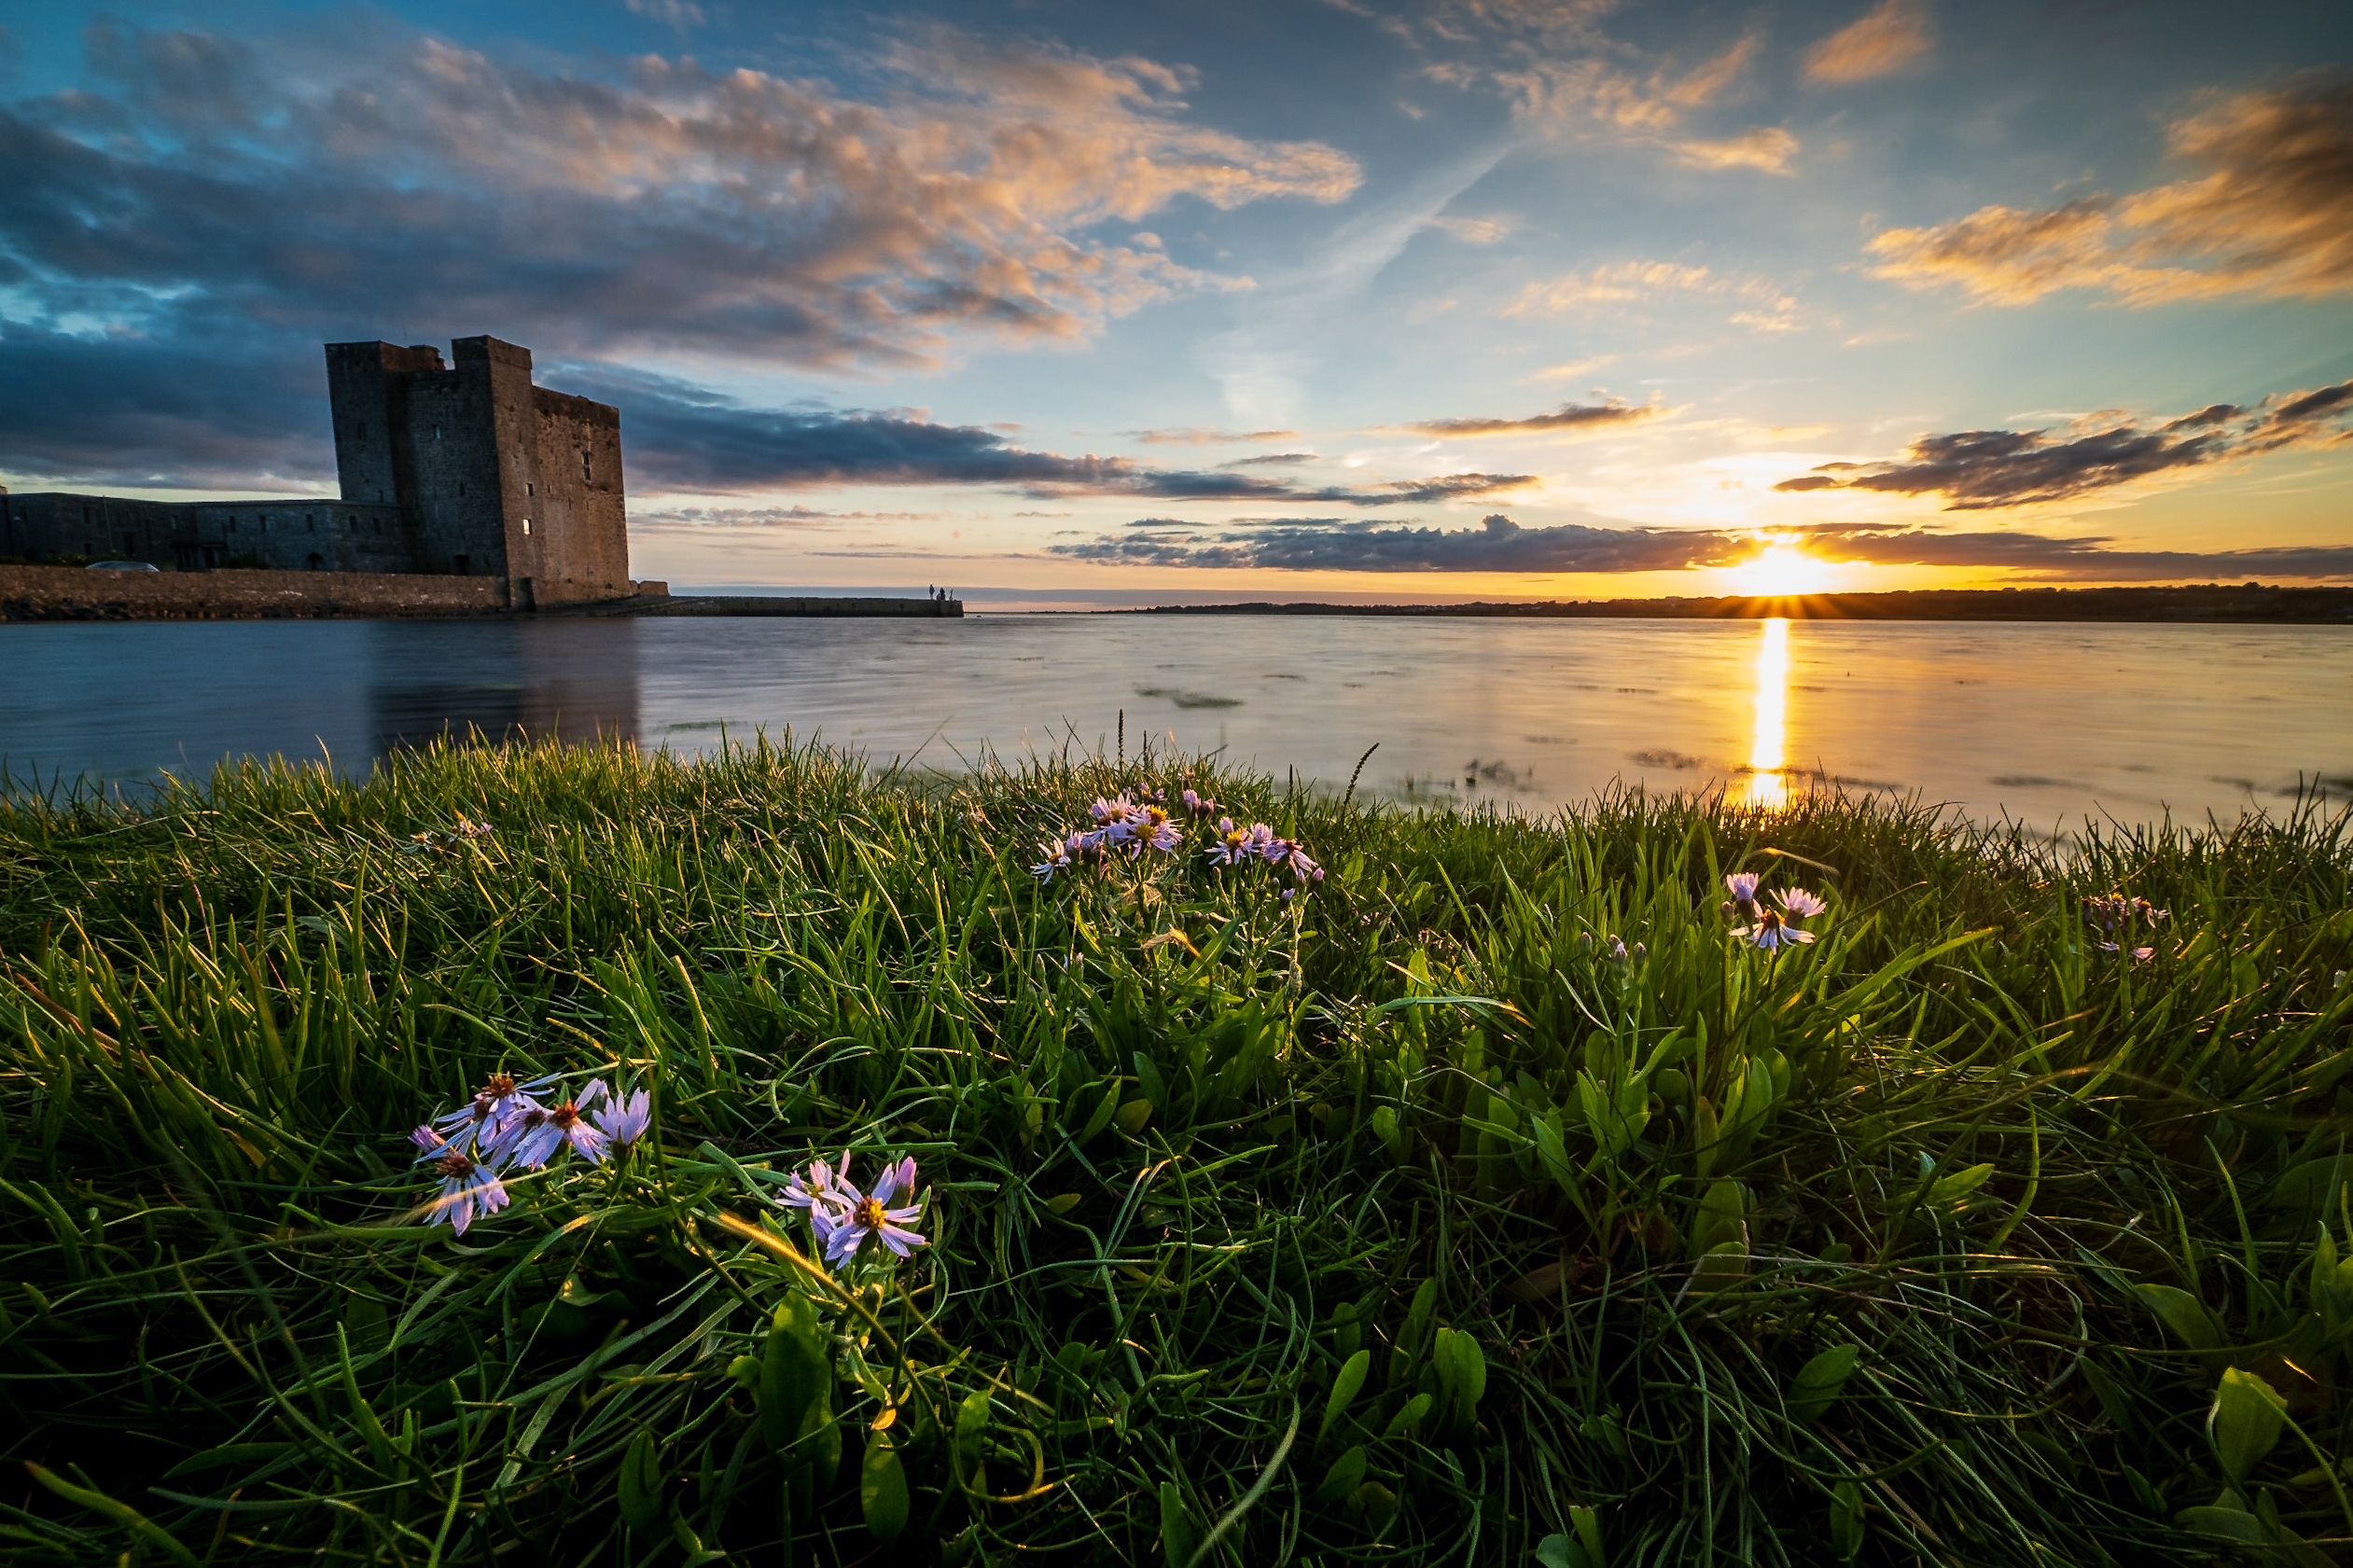
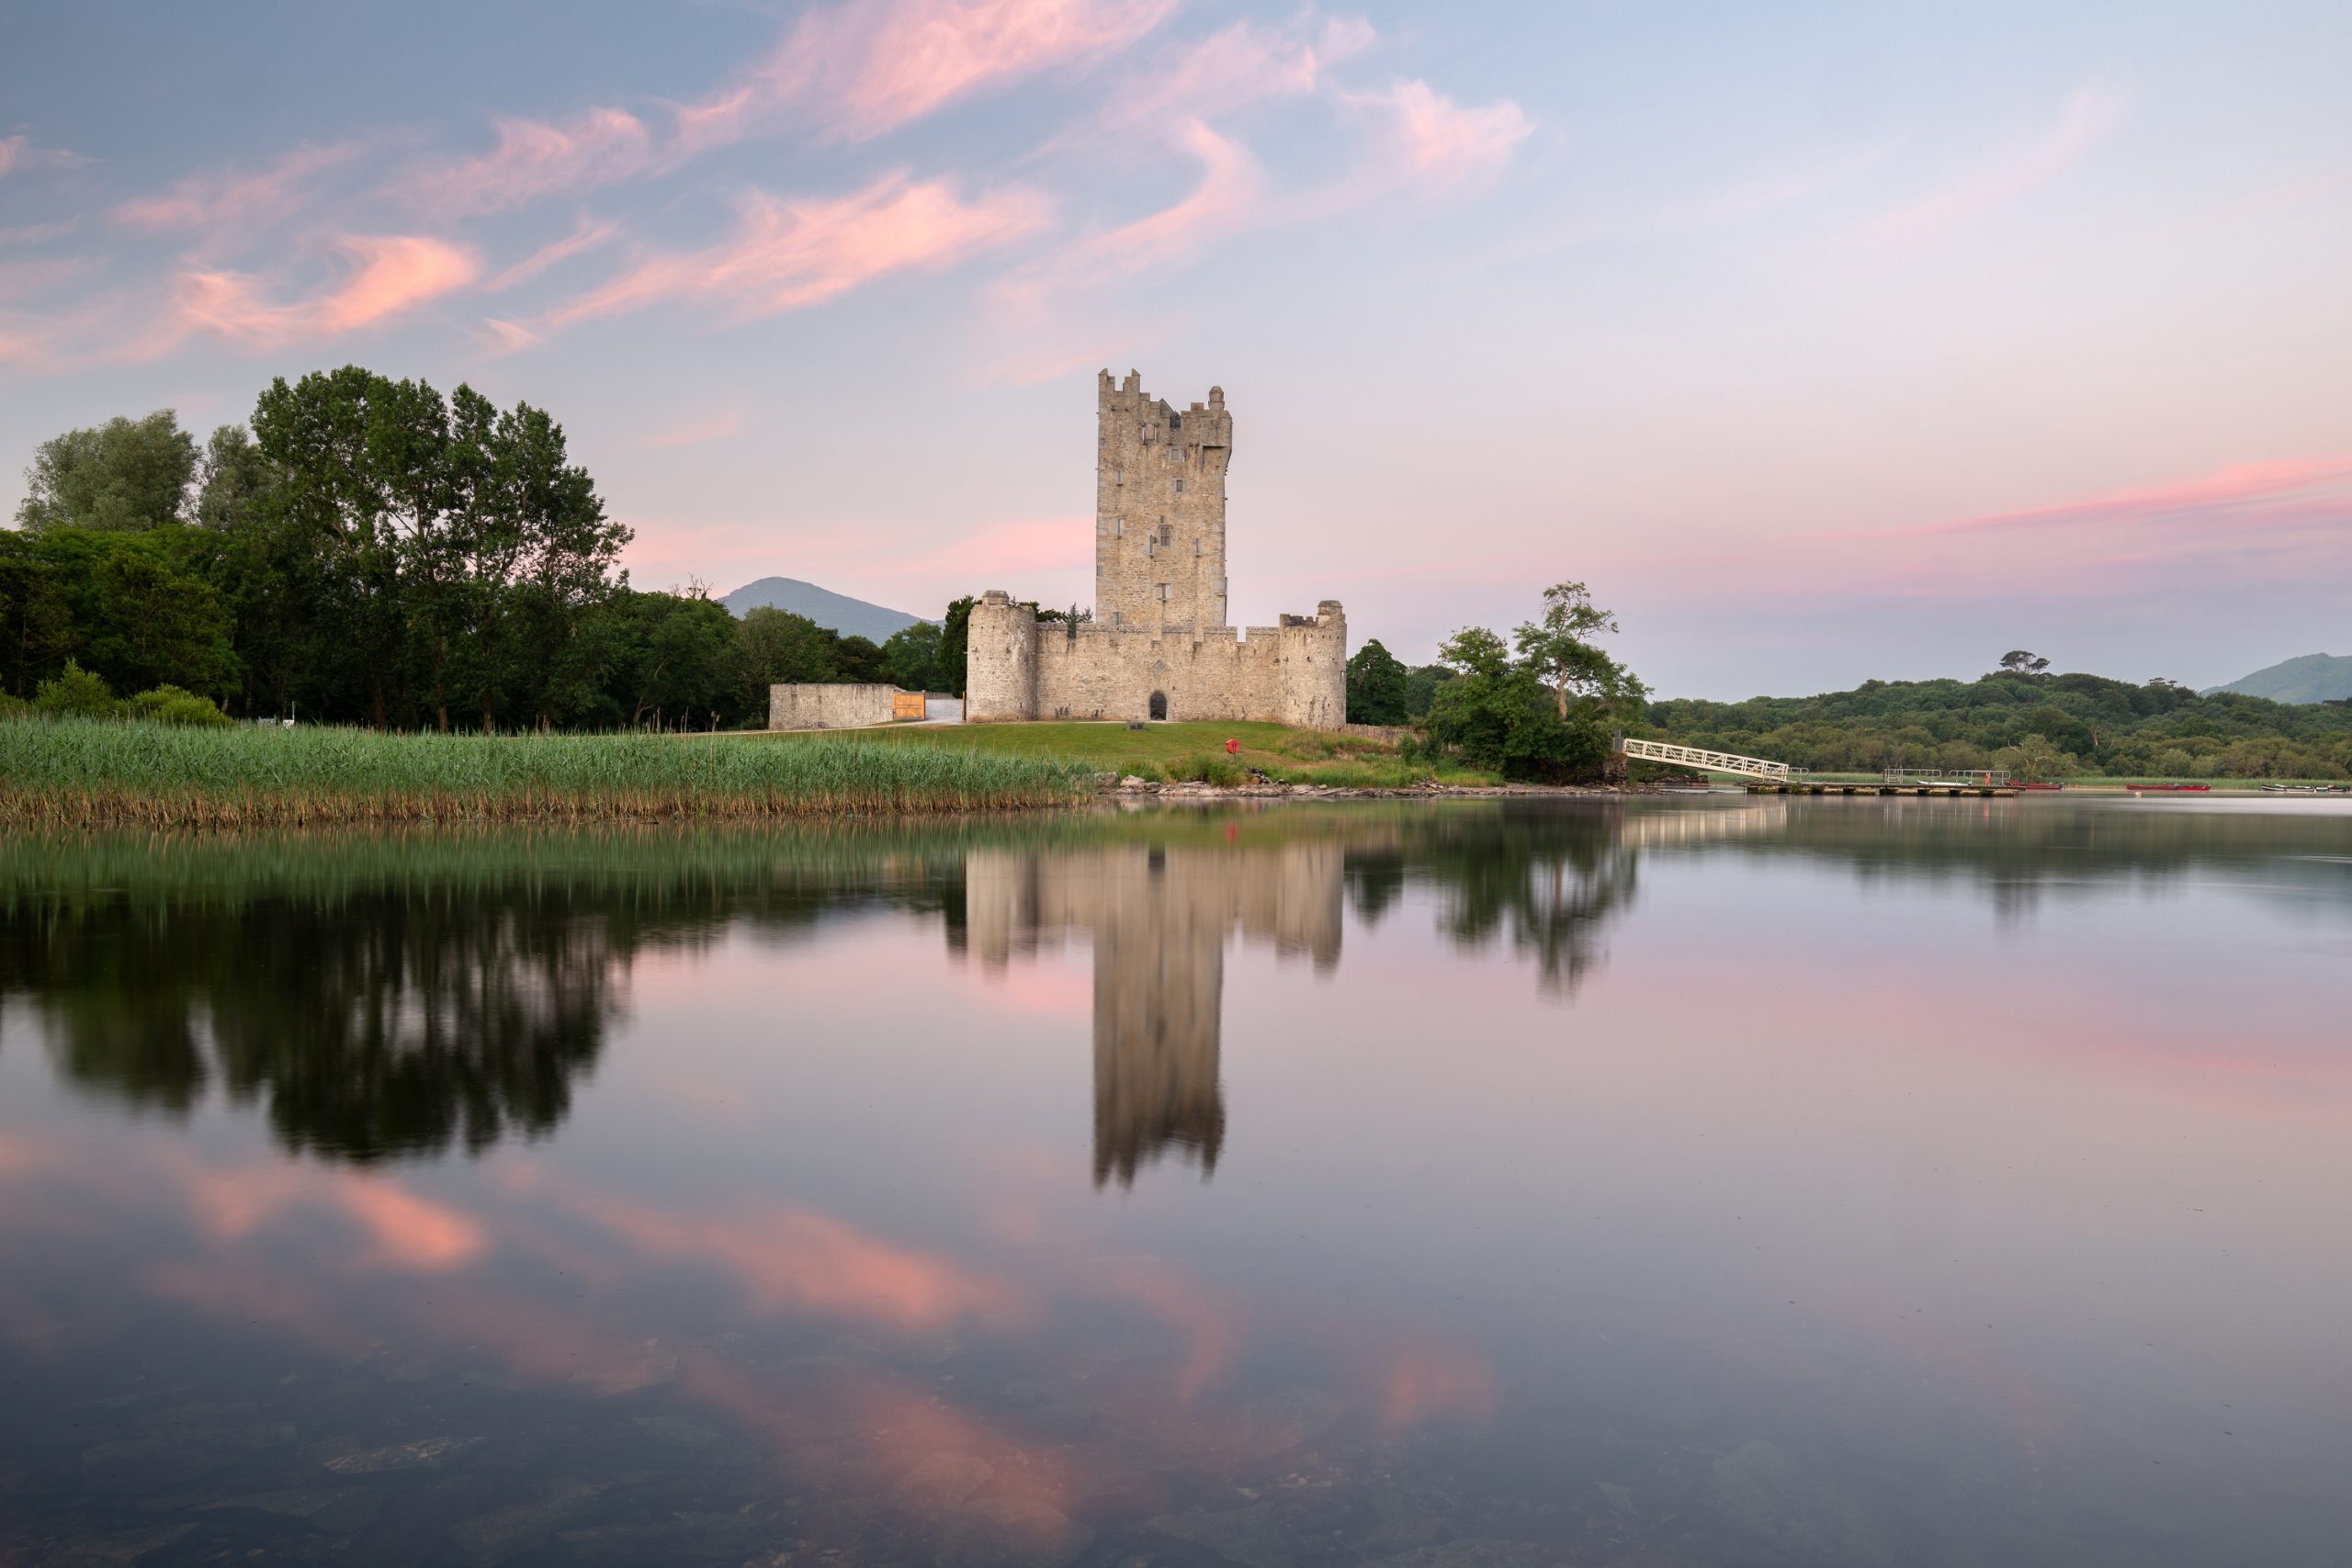 Ross Castle by Silvester Kalcik
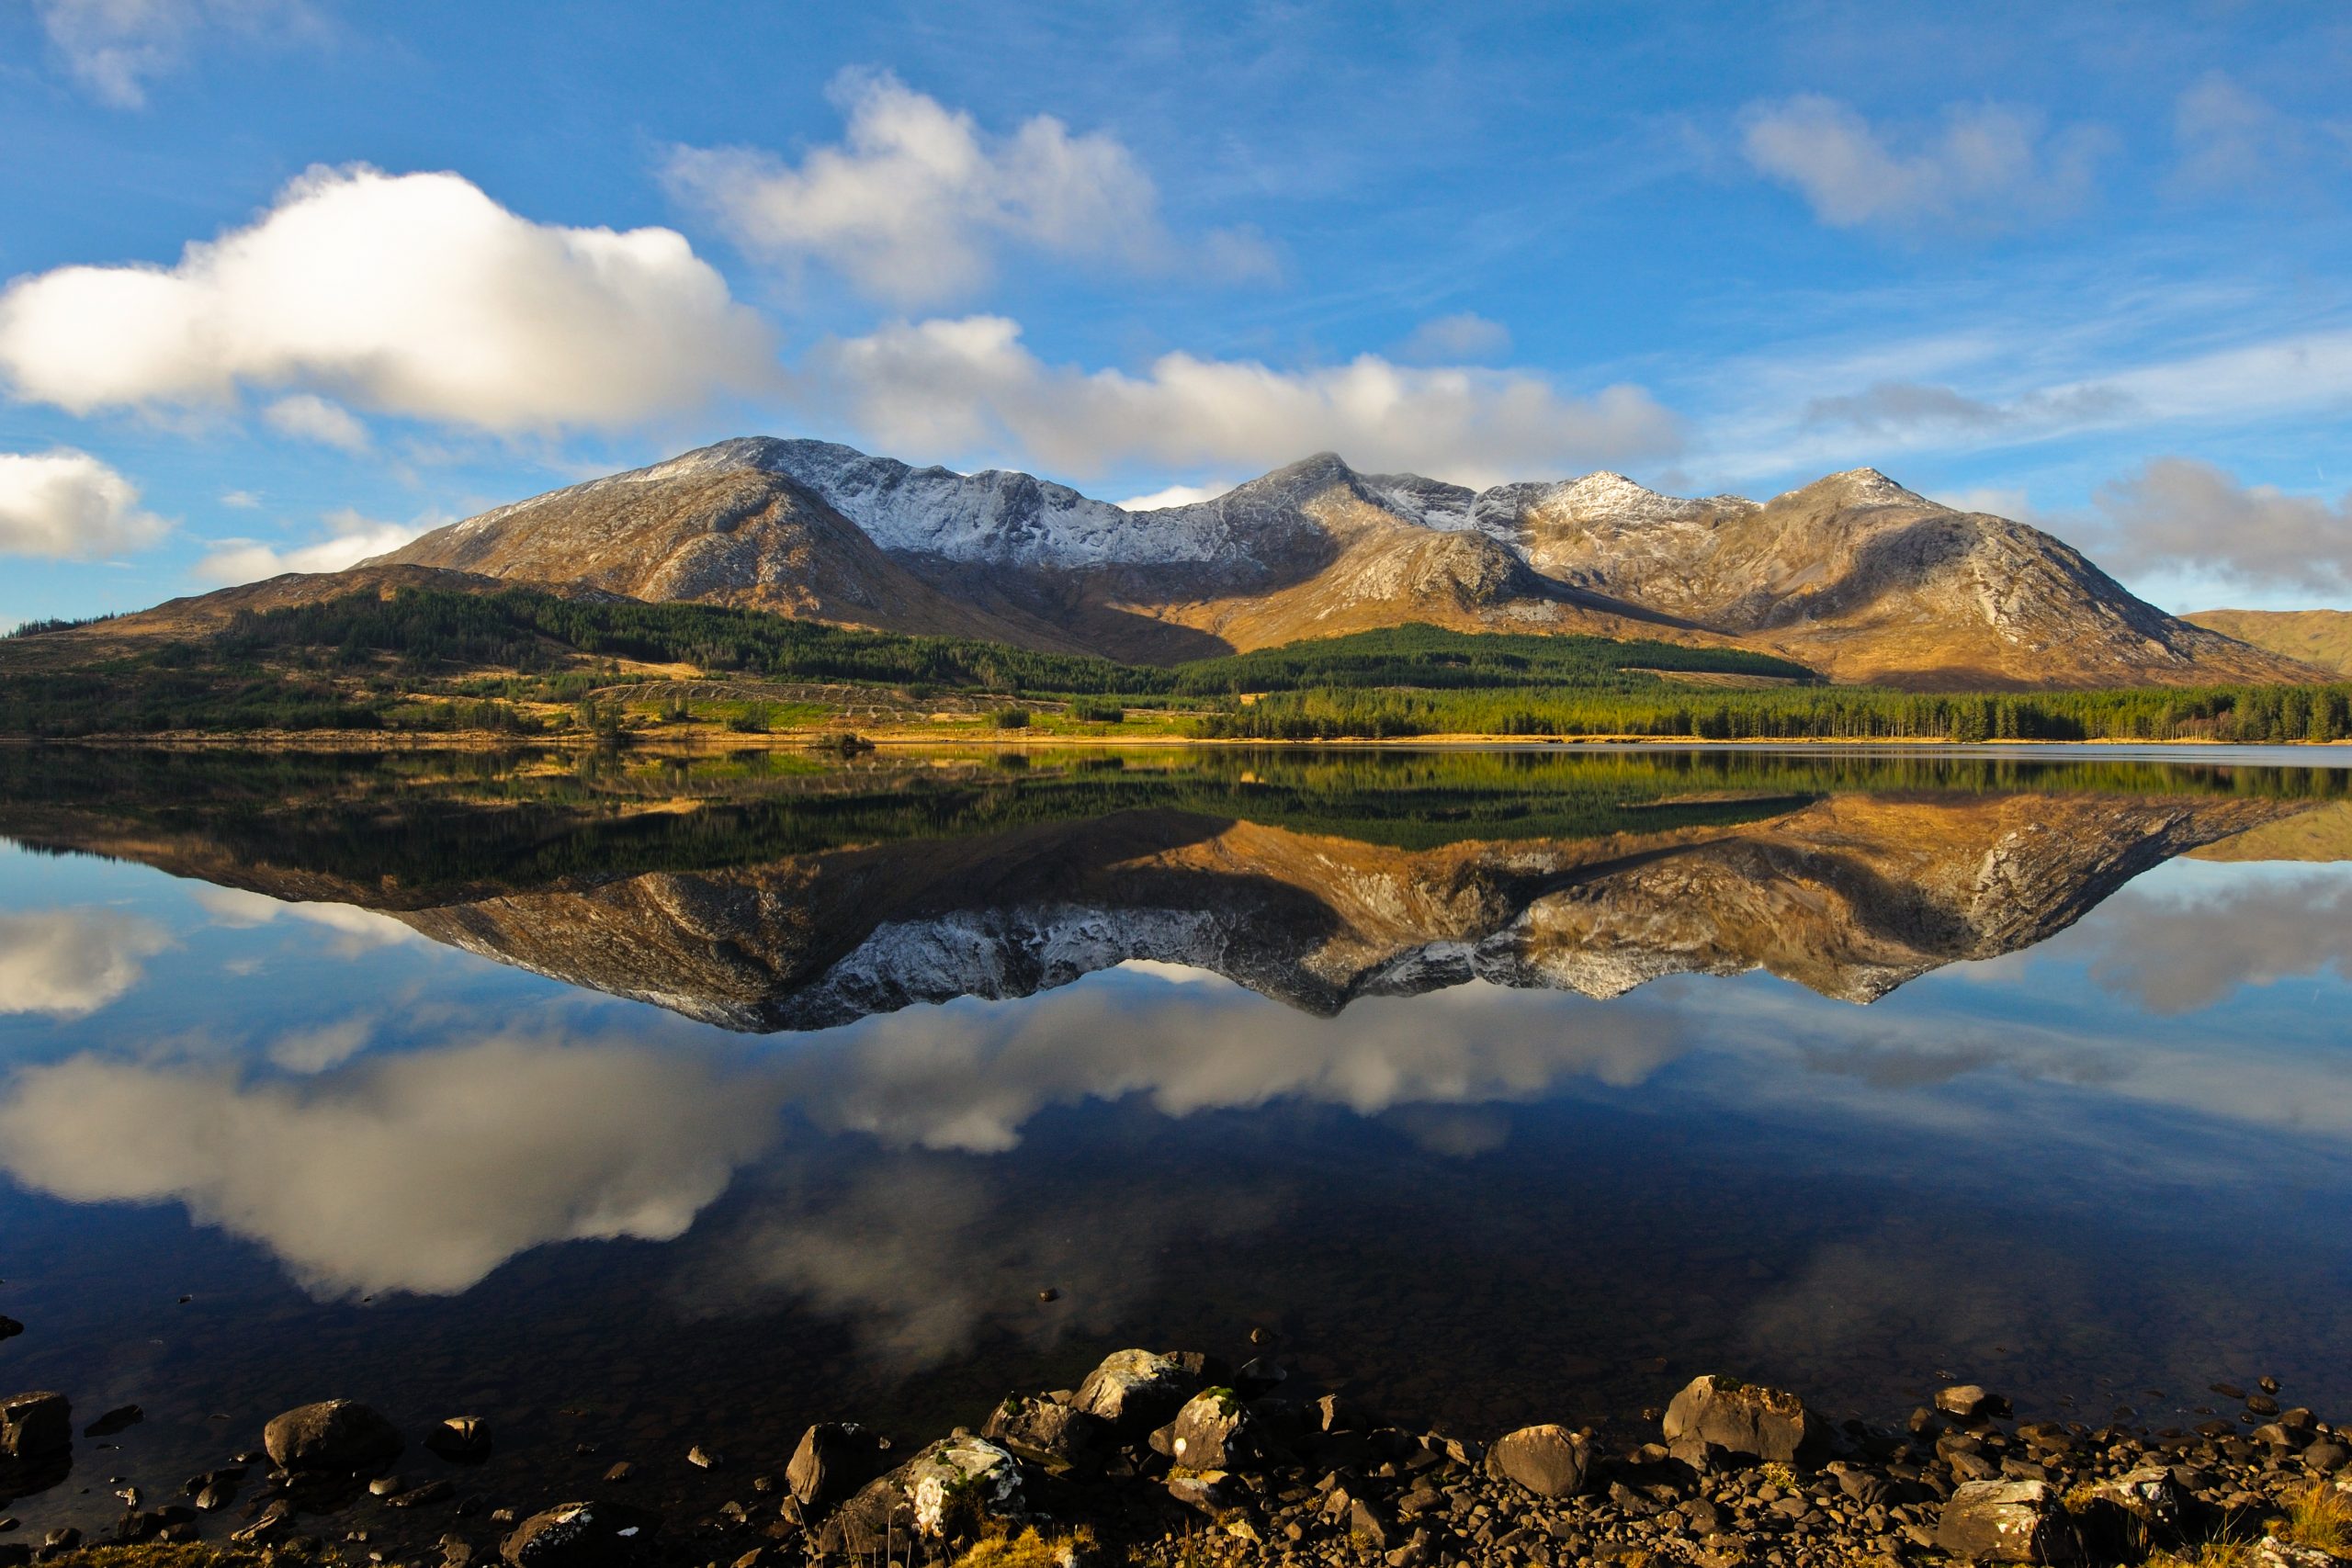 Connemara, Co.Galway by Sean Tomkins
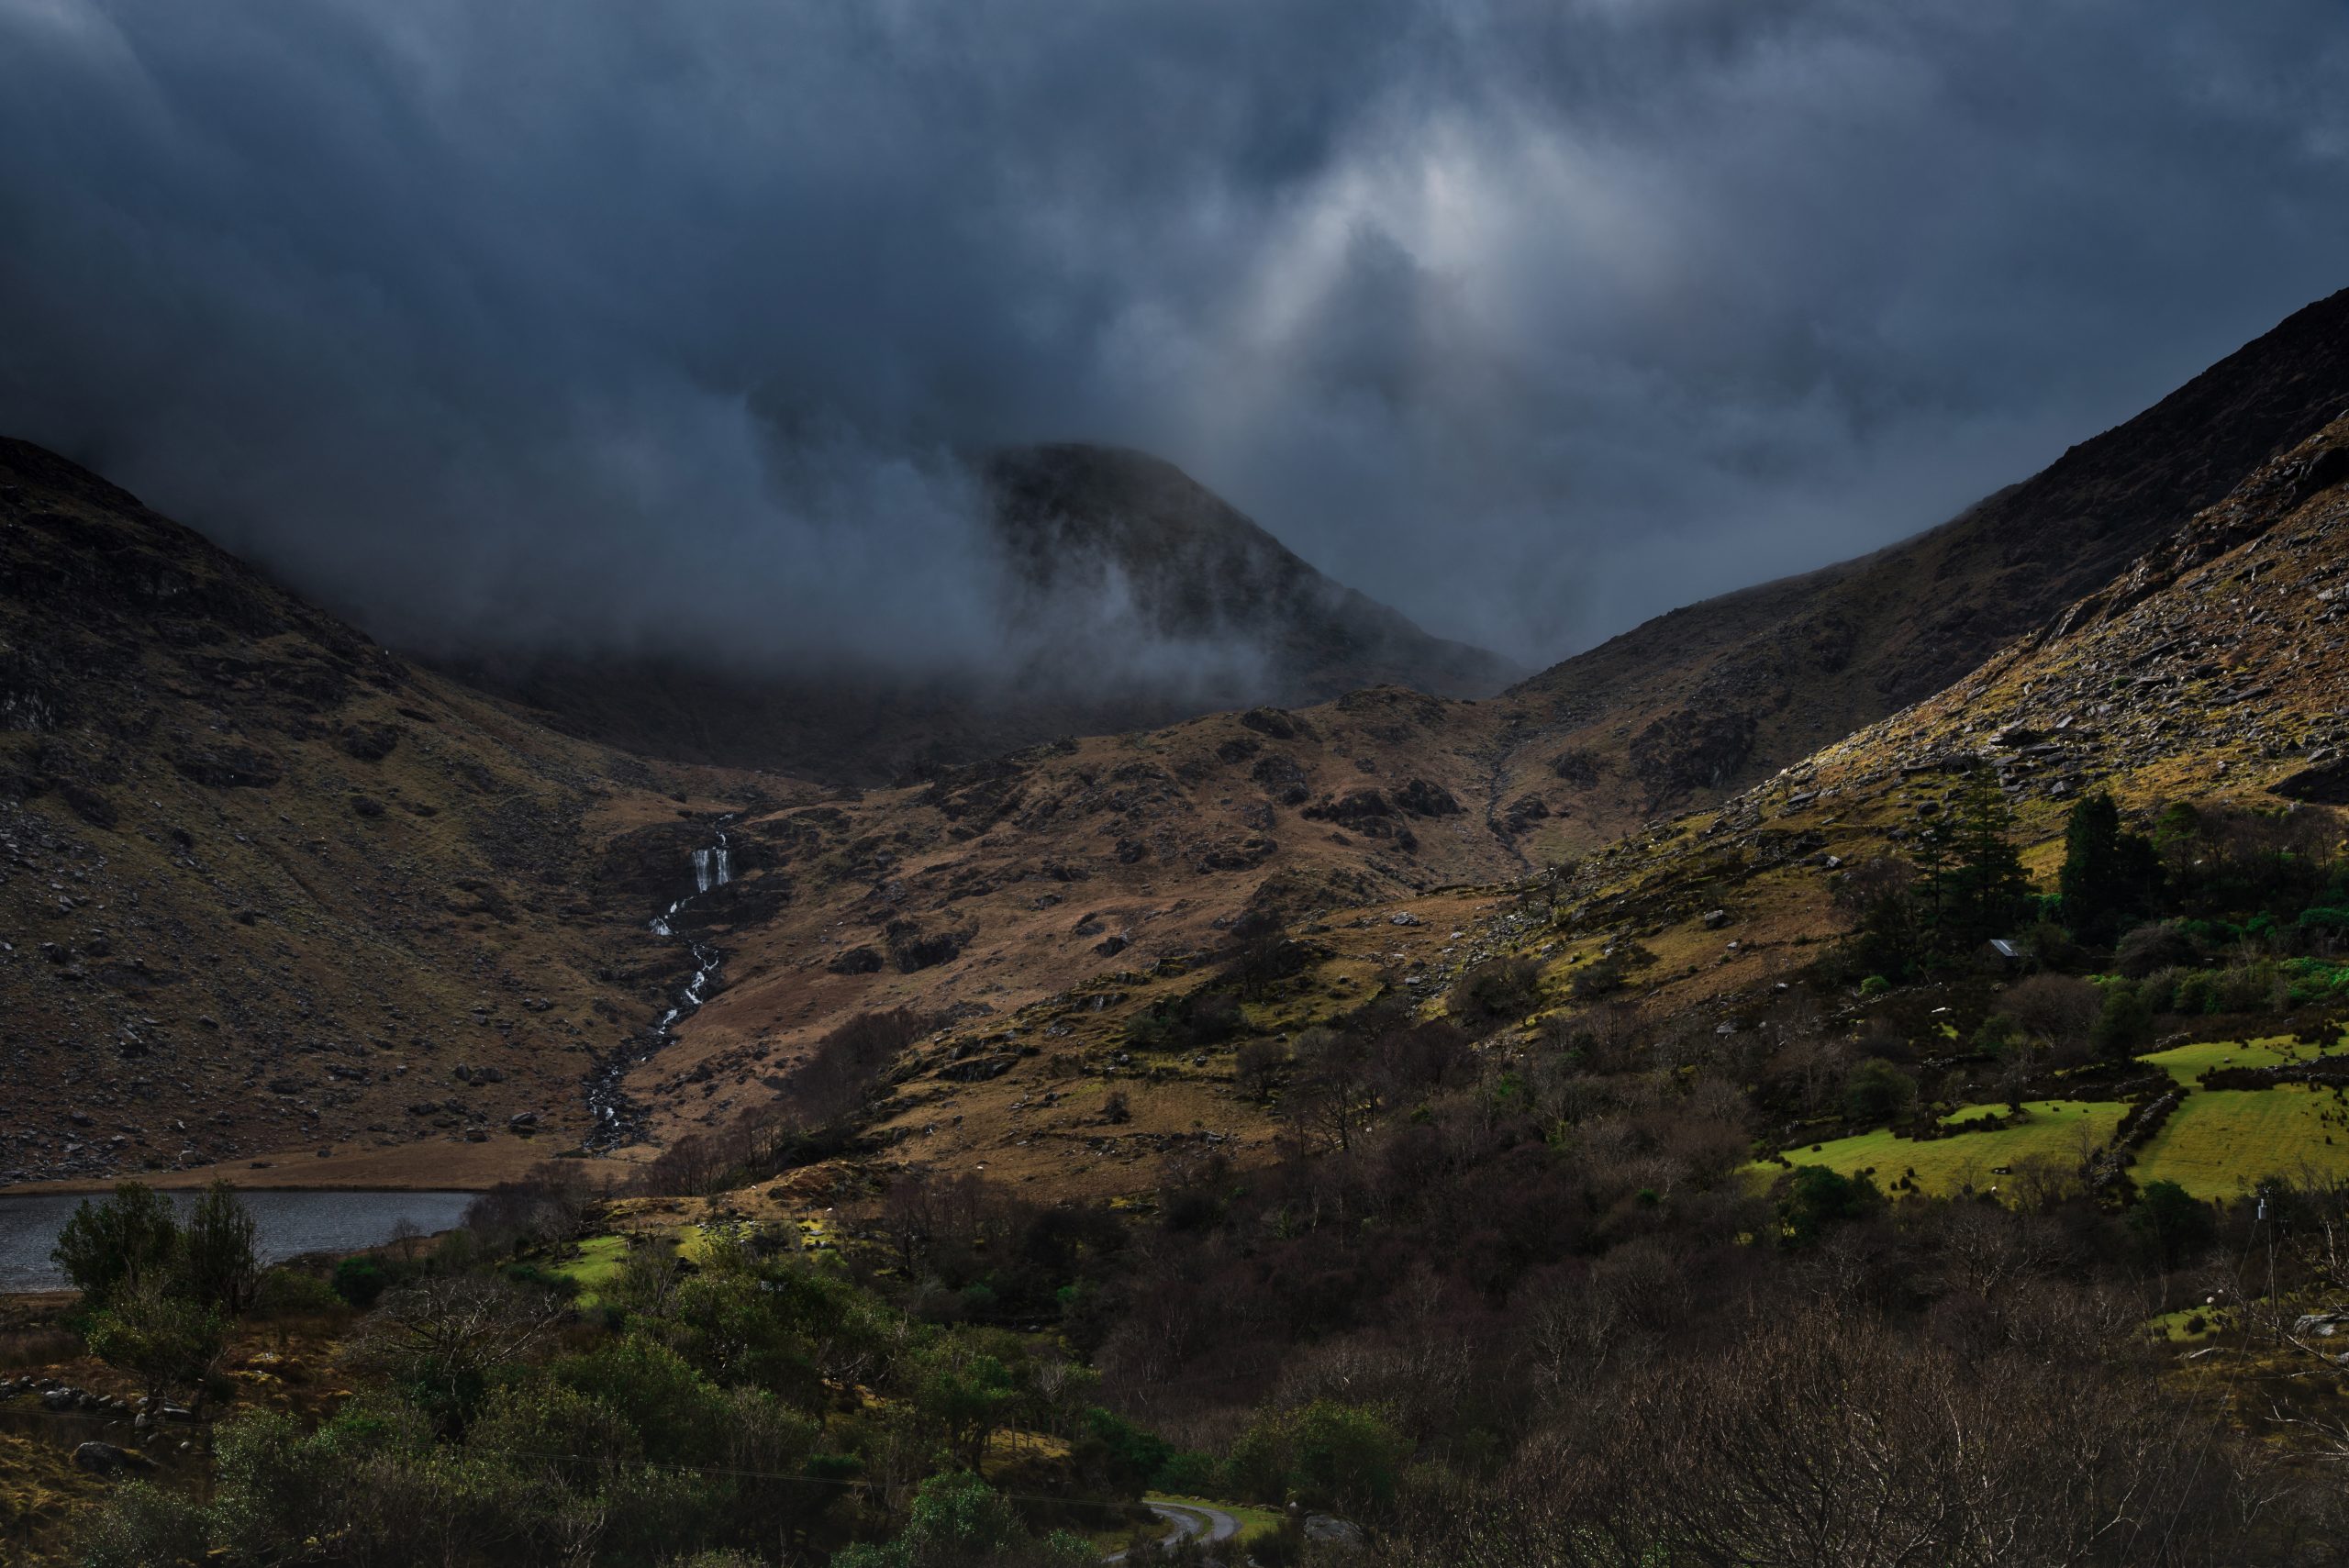 Black Valley Waterfall by John Holmes
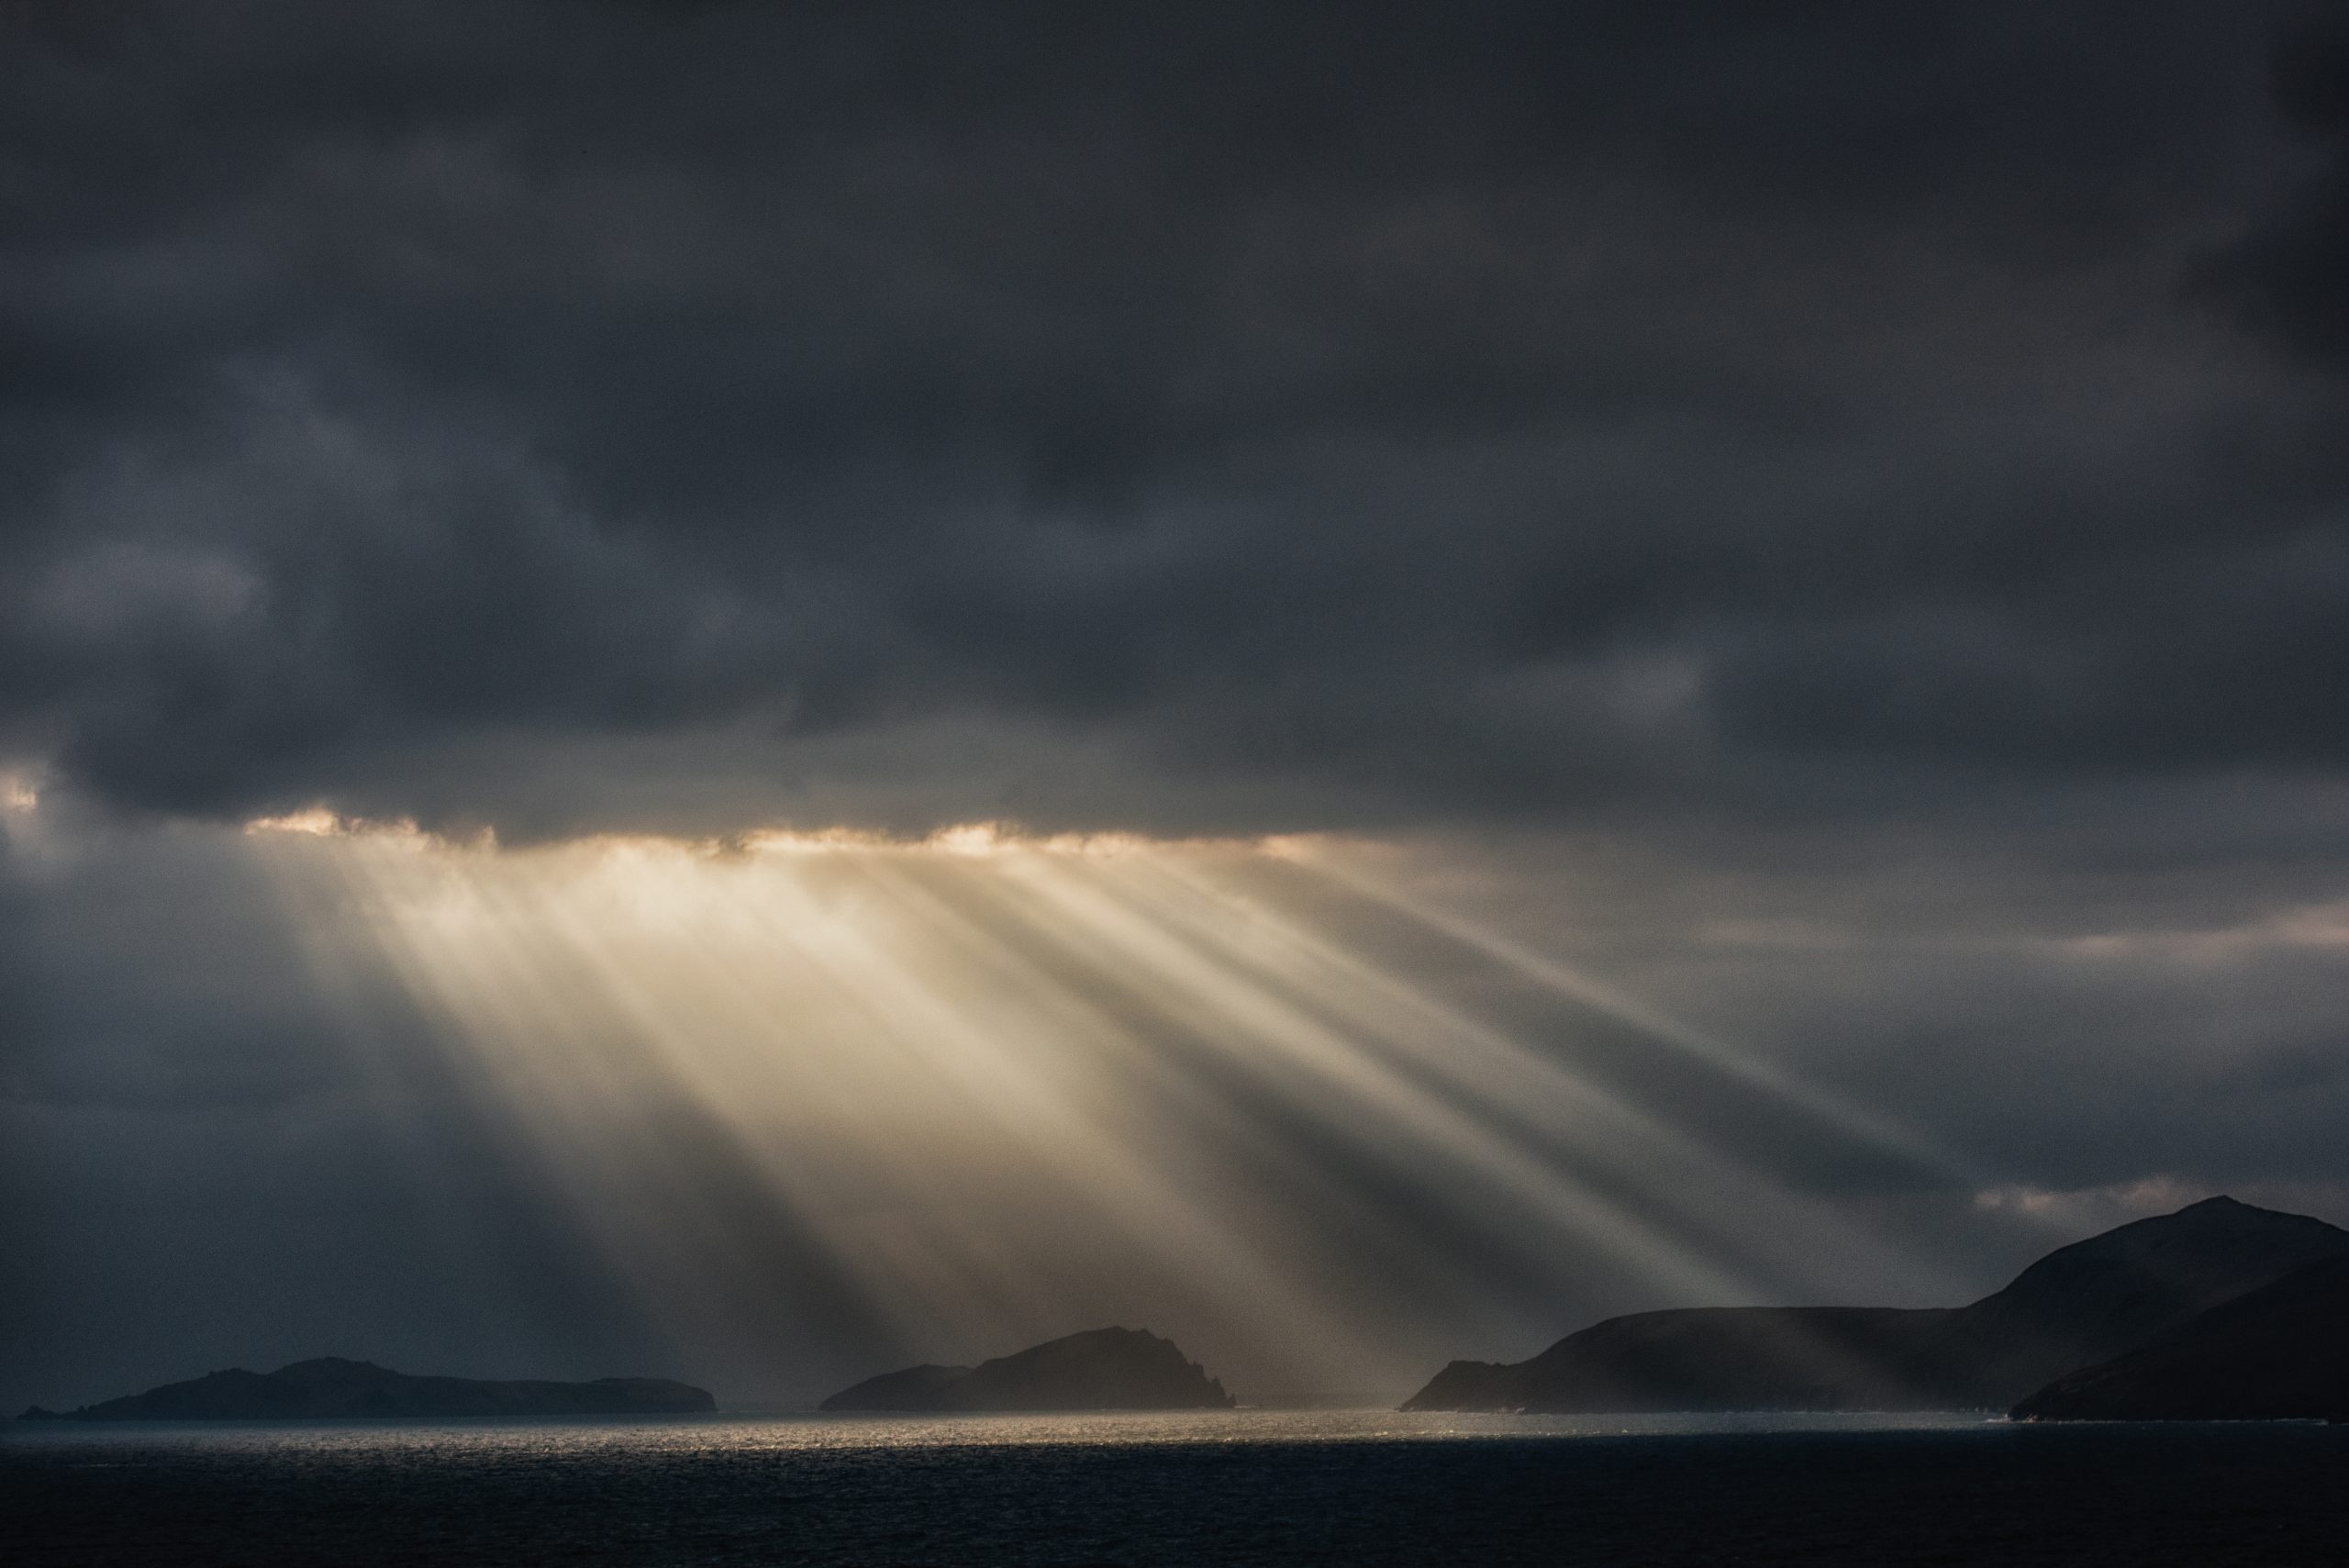
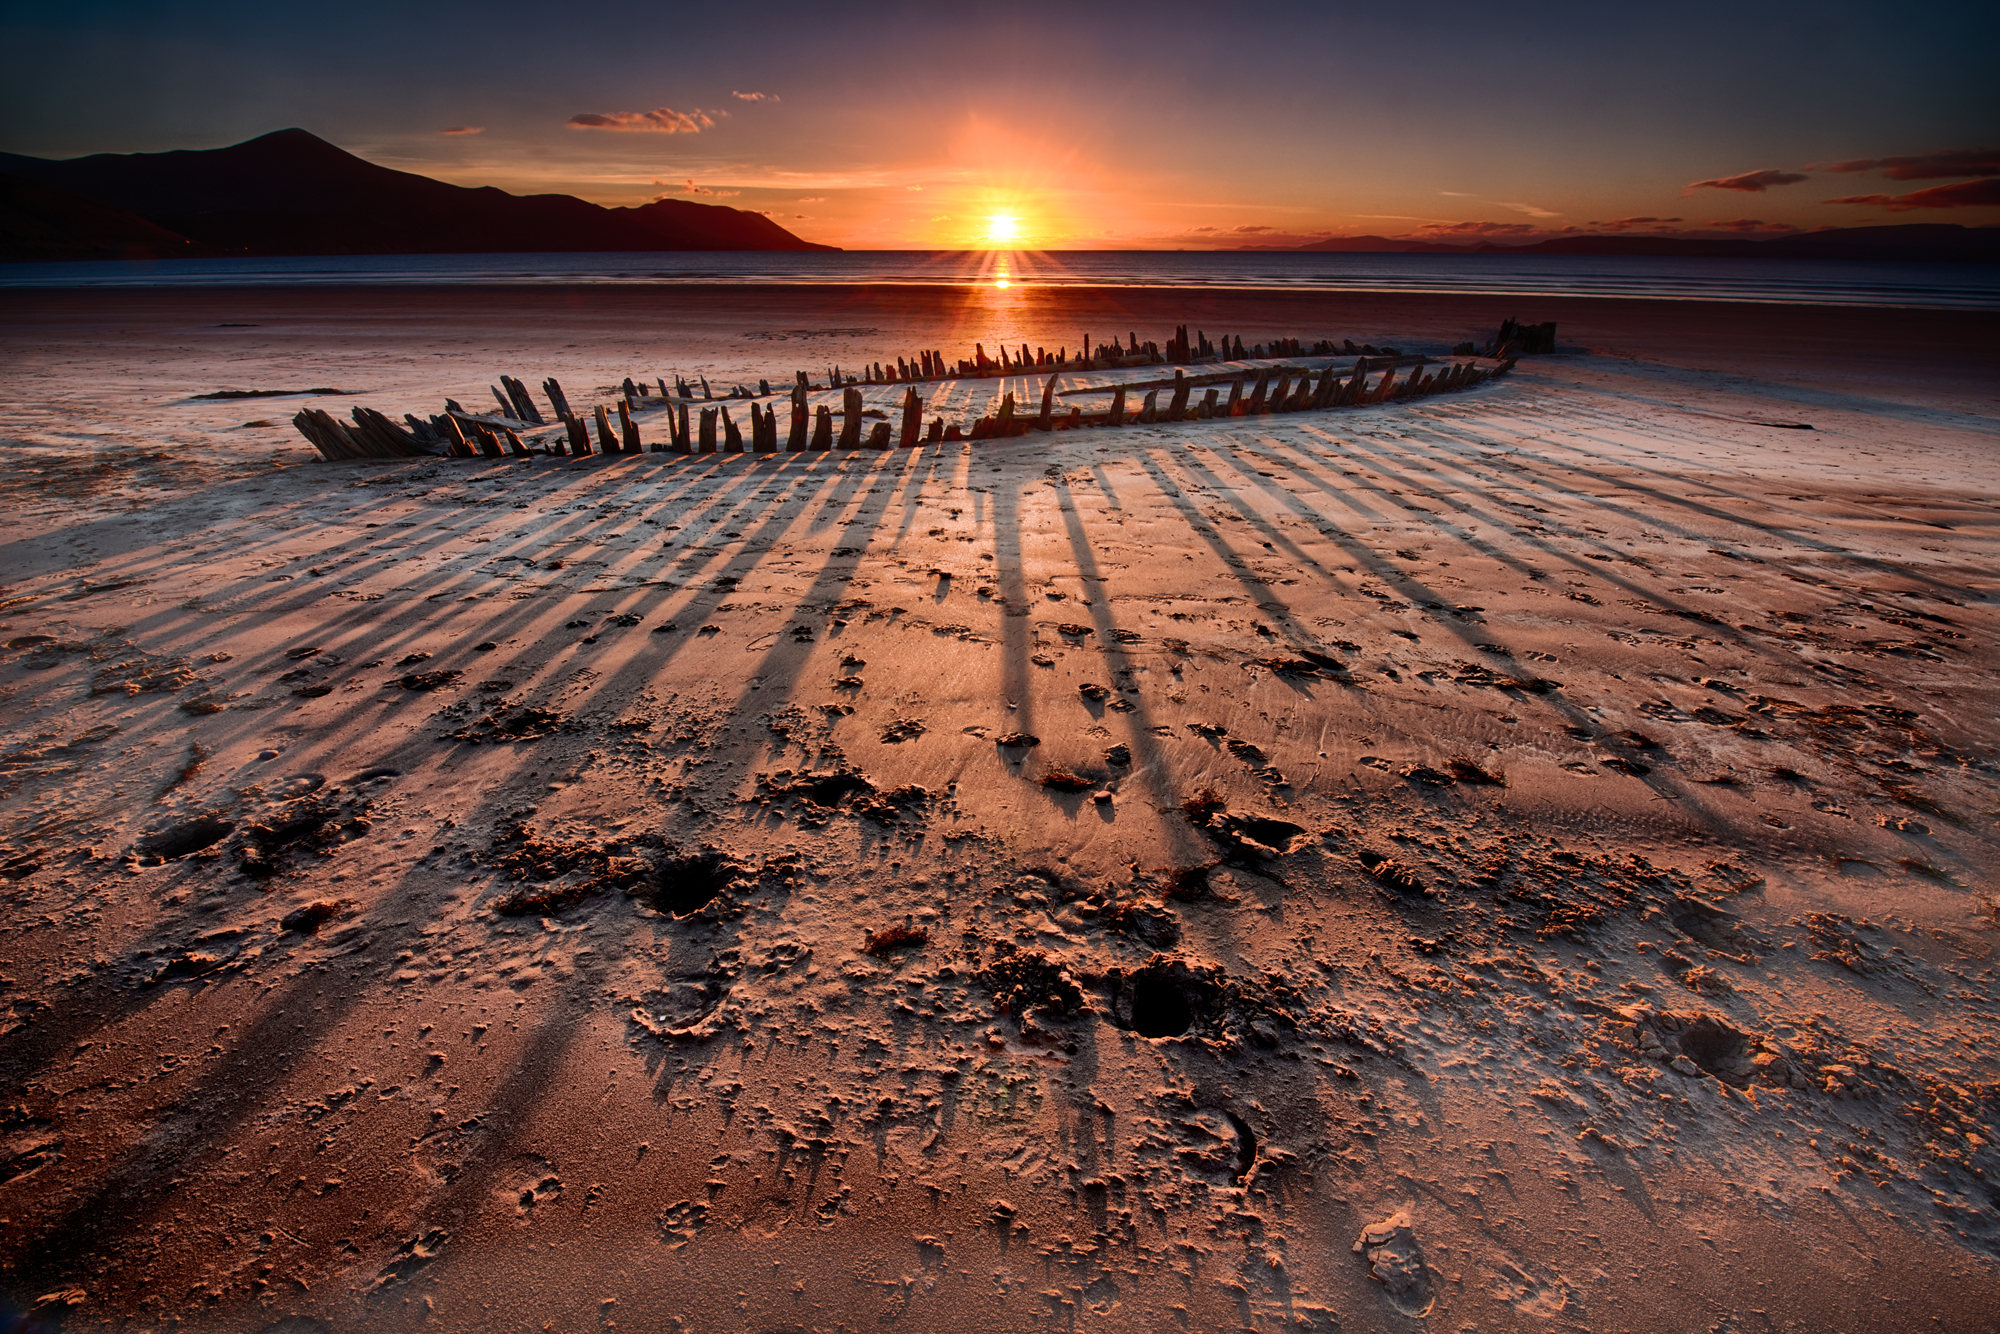 Sunbeam and Sunbeams by Trevor Cole
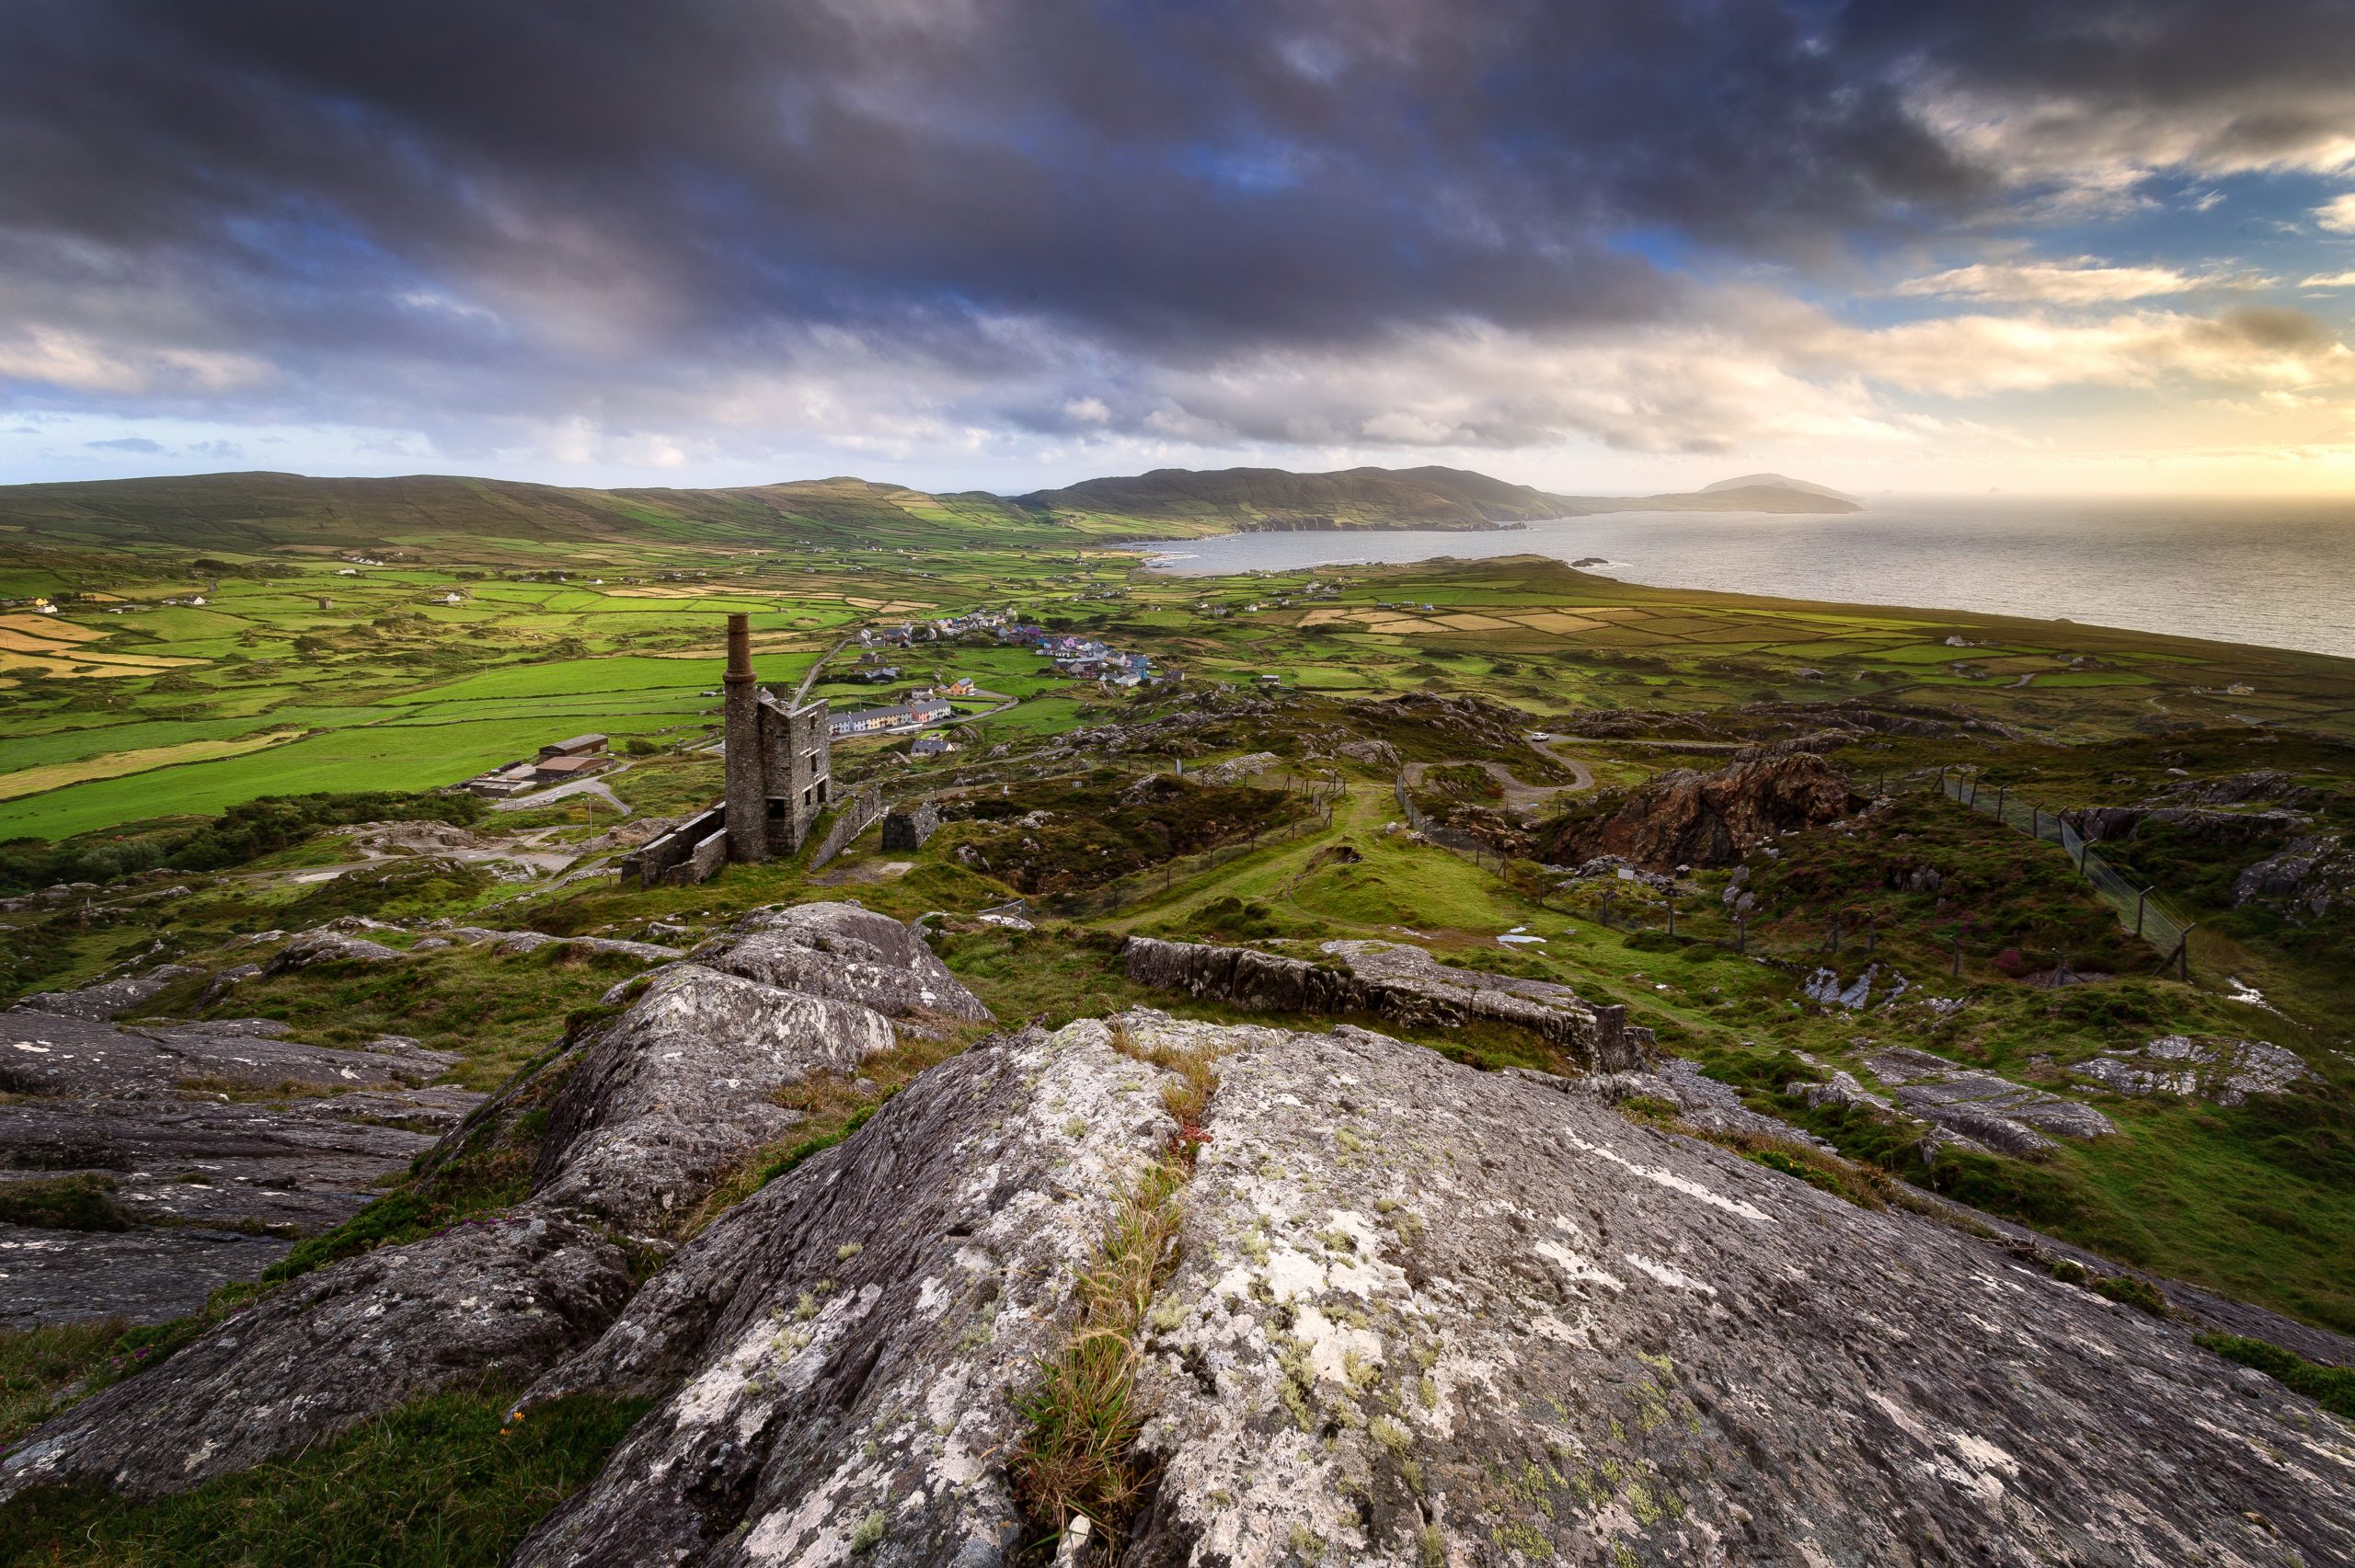
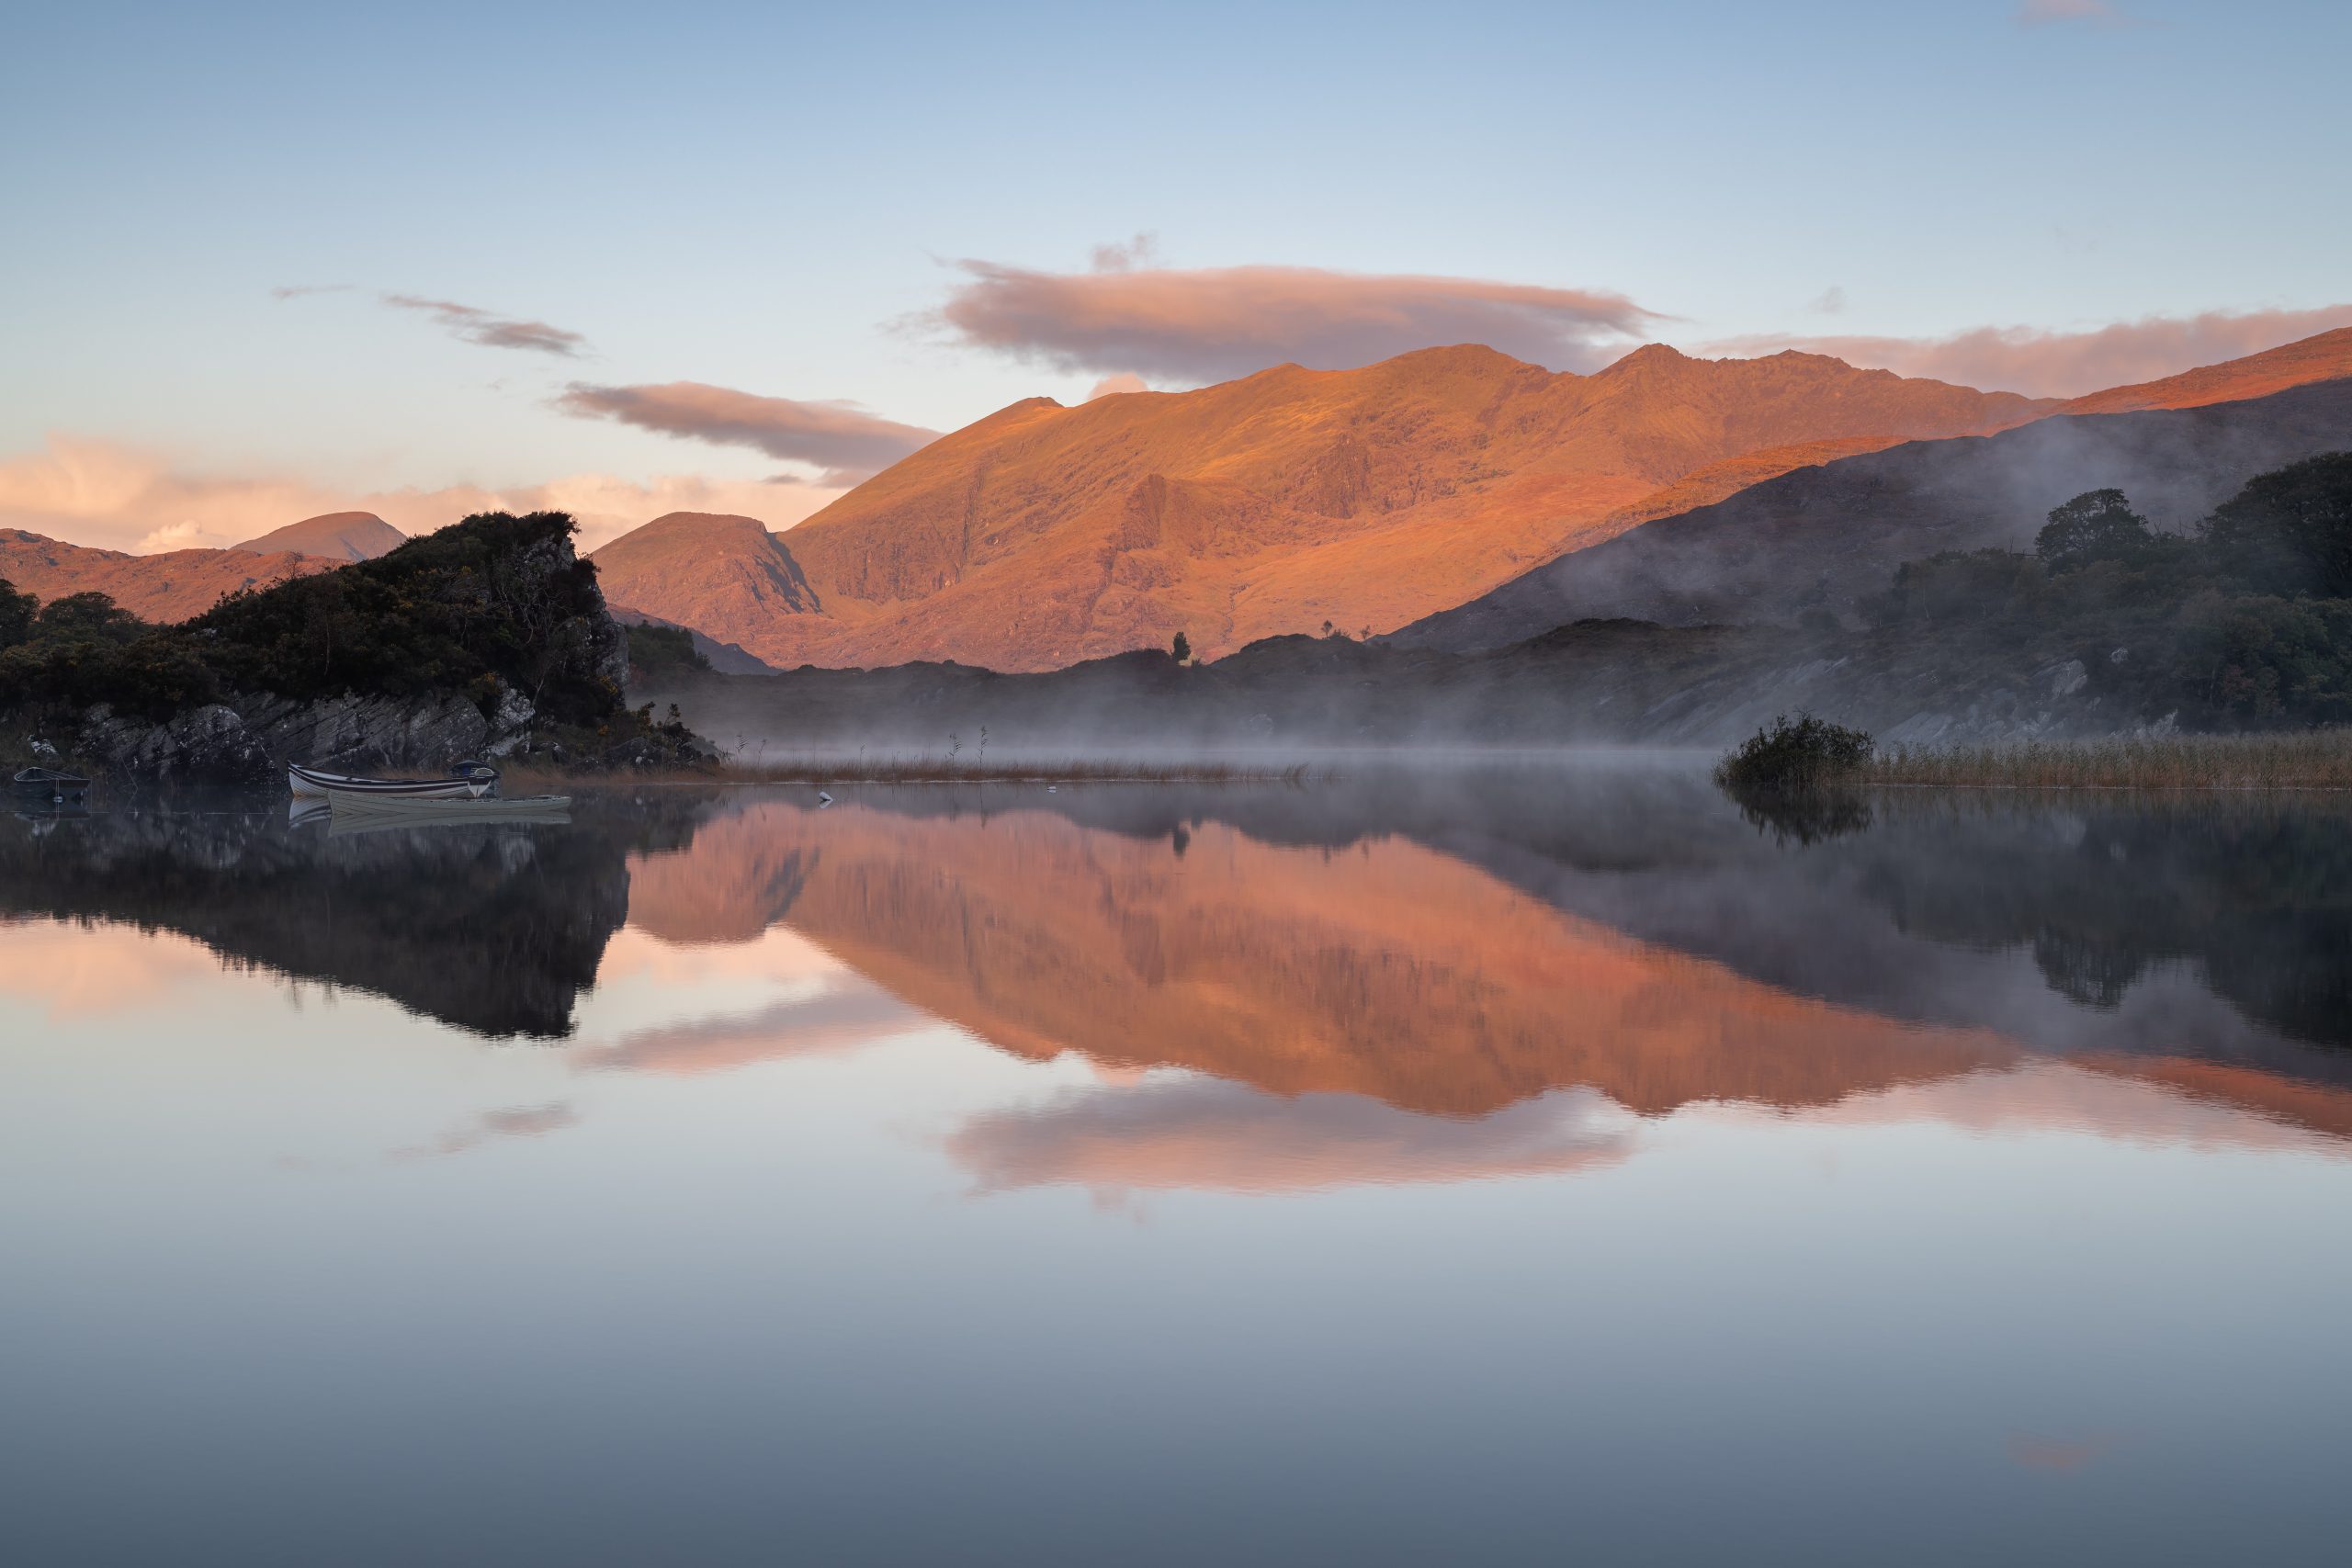 Sunrise, Upper Lake, Killarney by Silvester Kalcik
 Ardmore Watch Tower by John Holmes
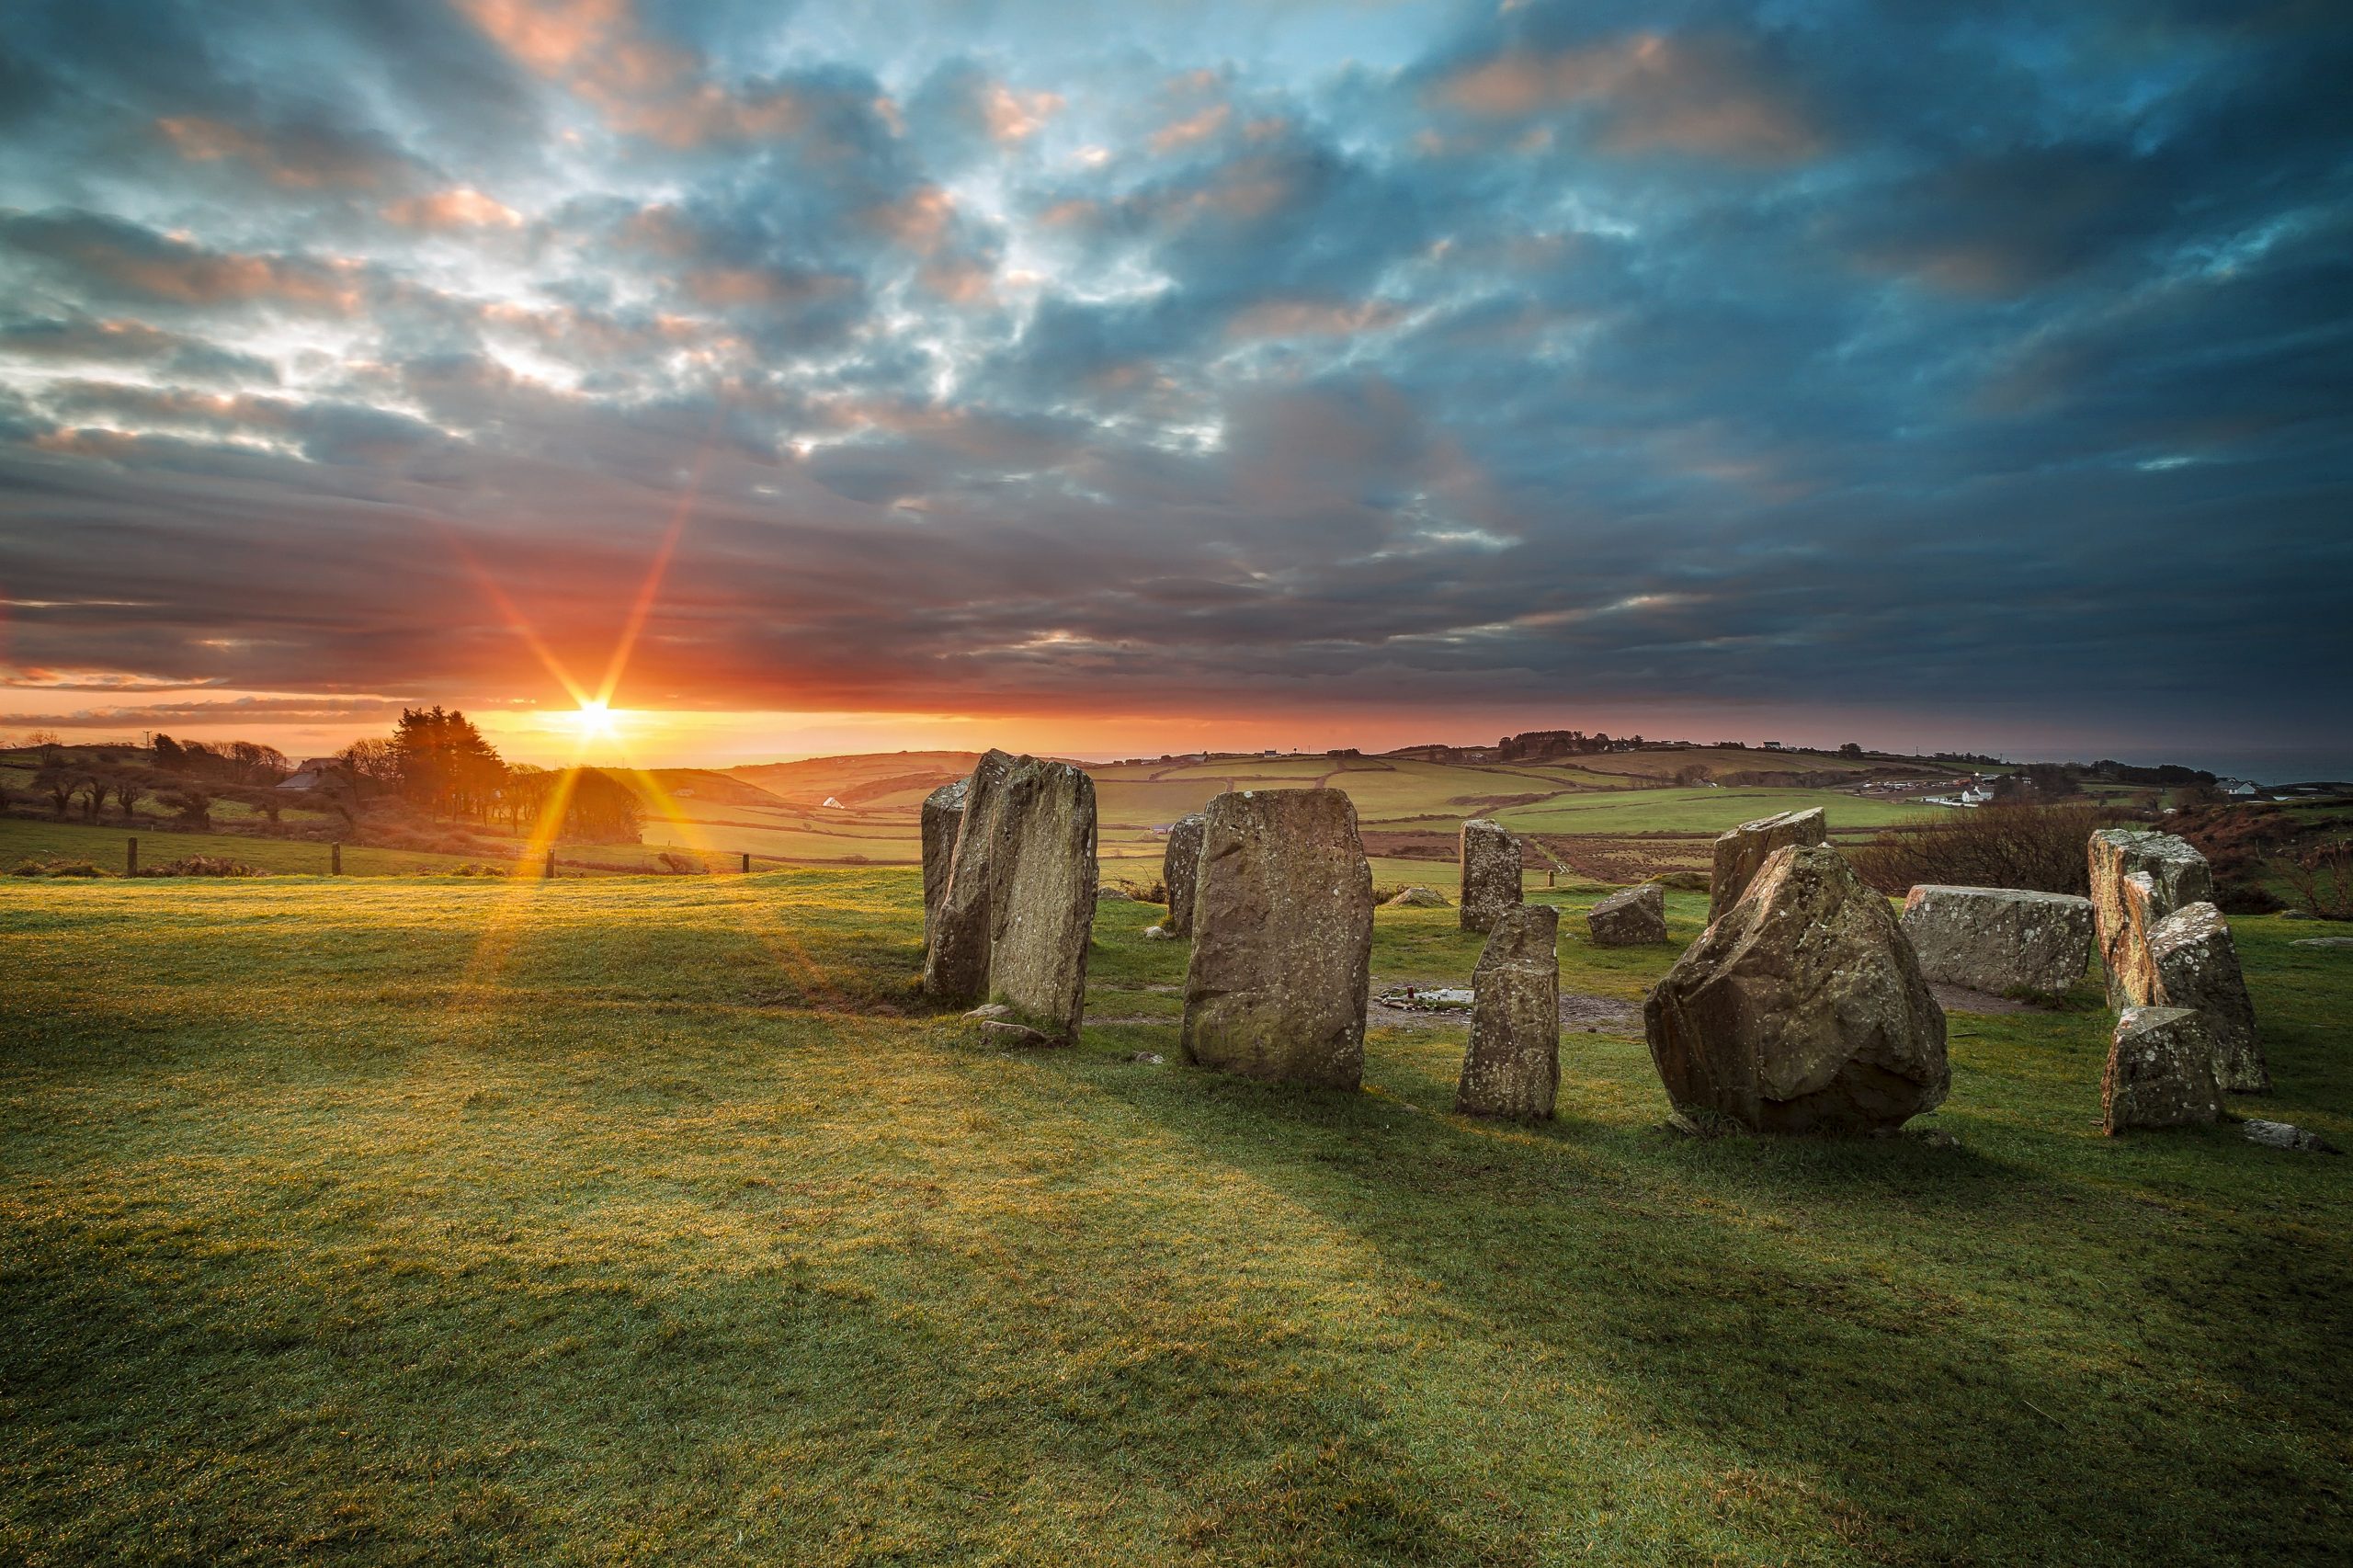 Drombeg by Jiri Vrablik
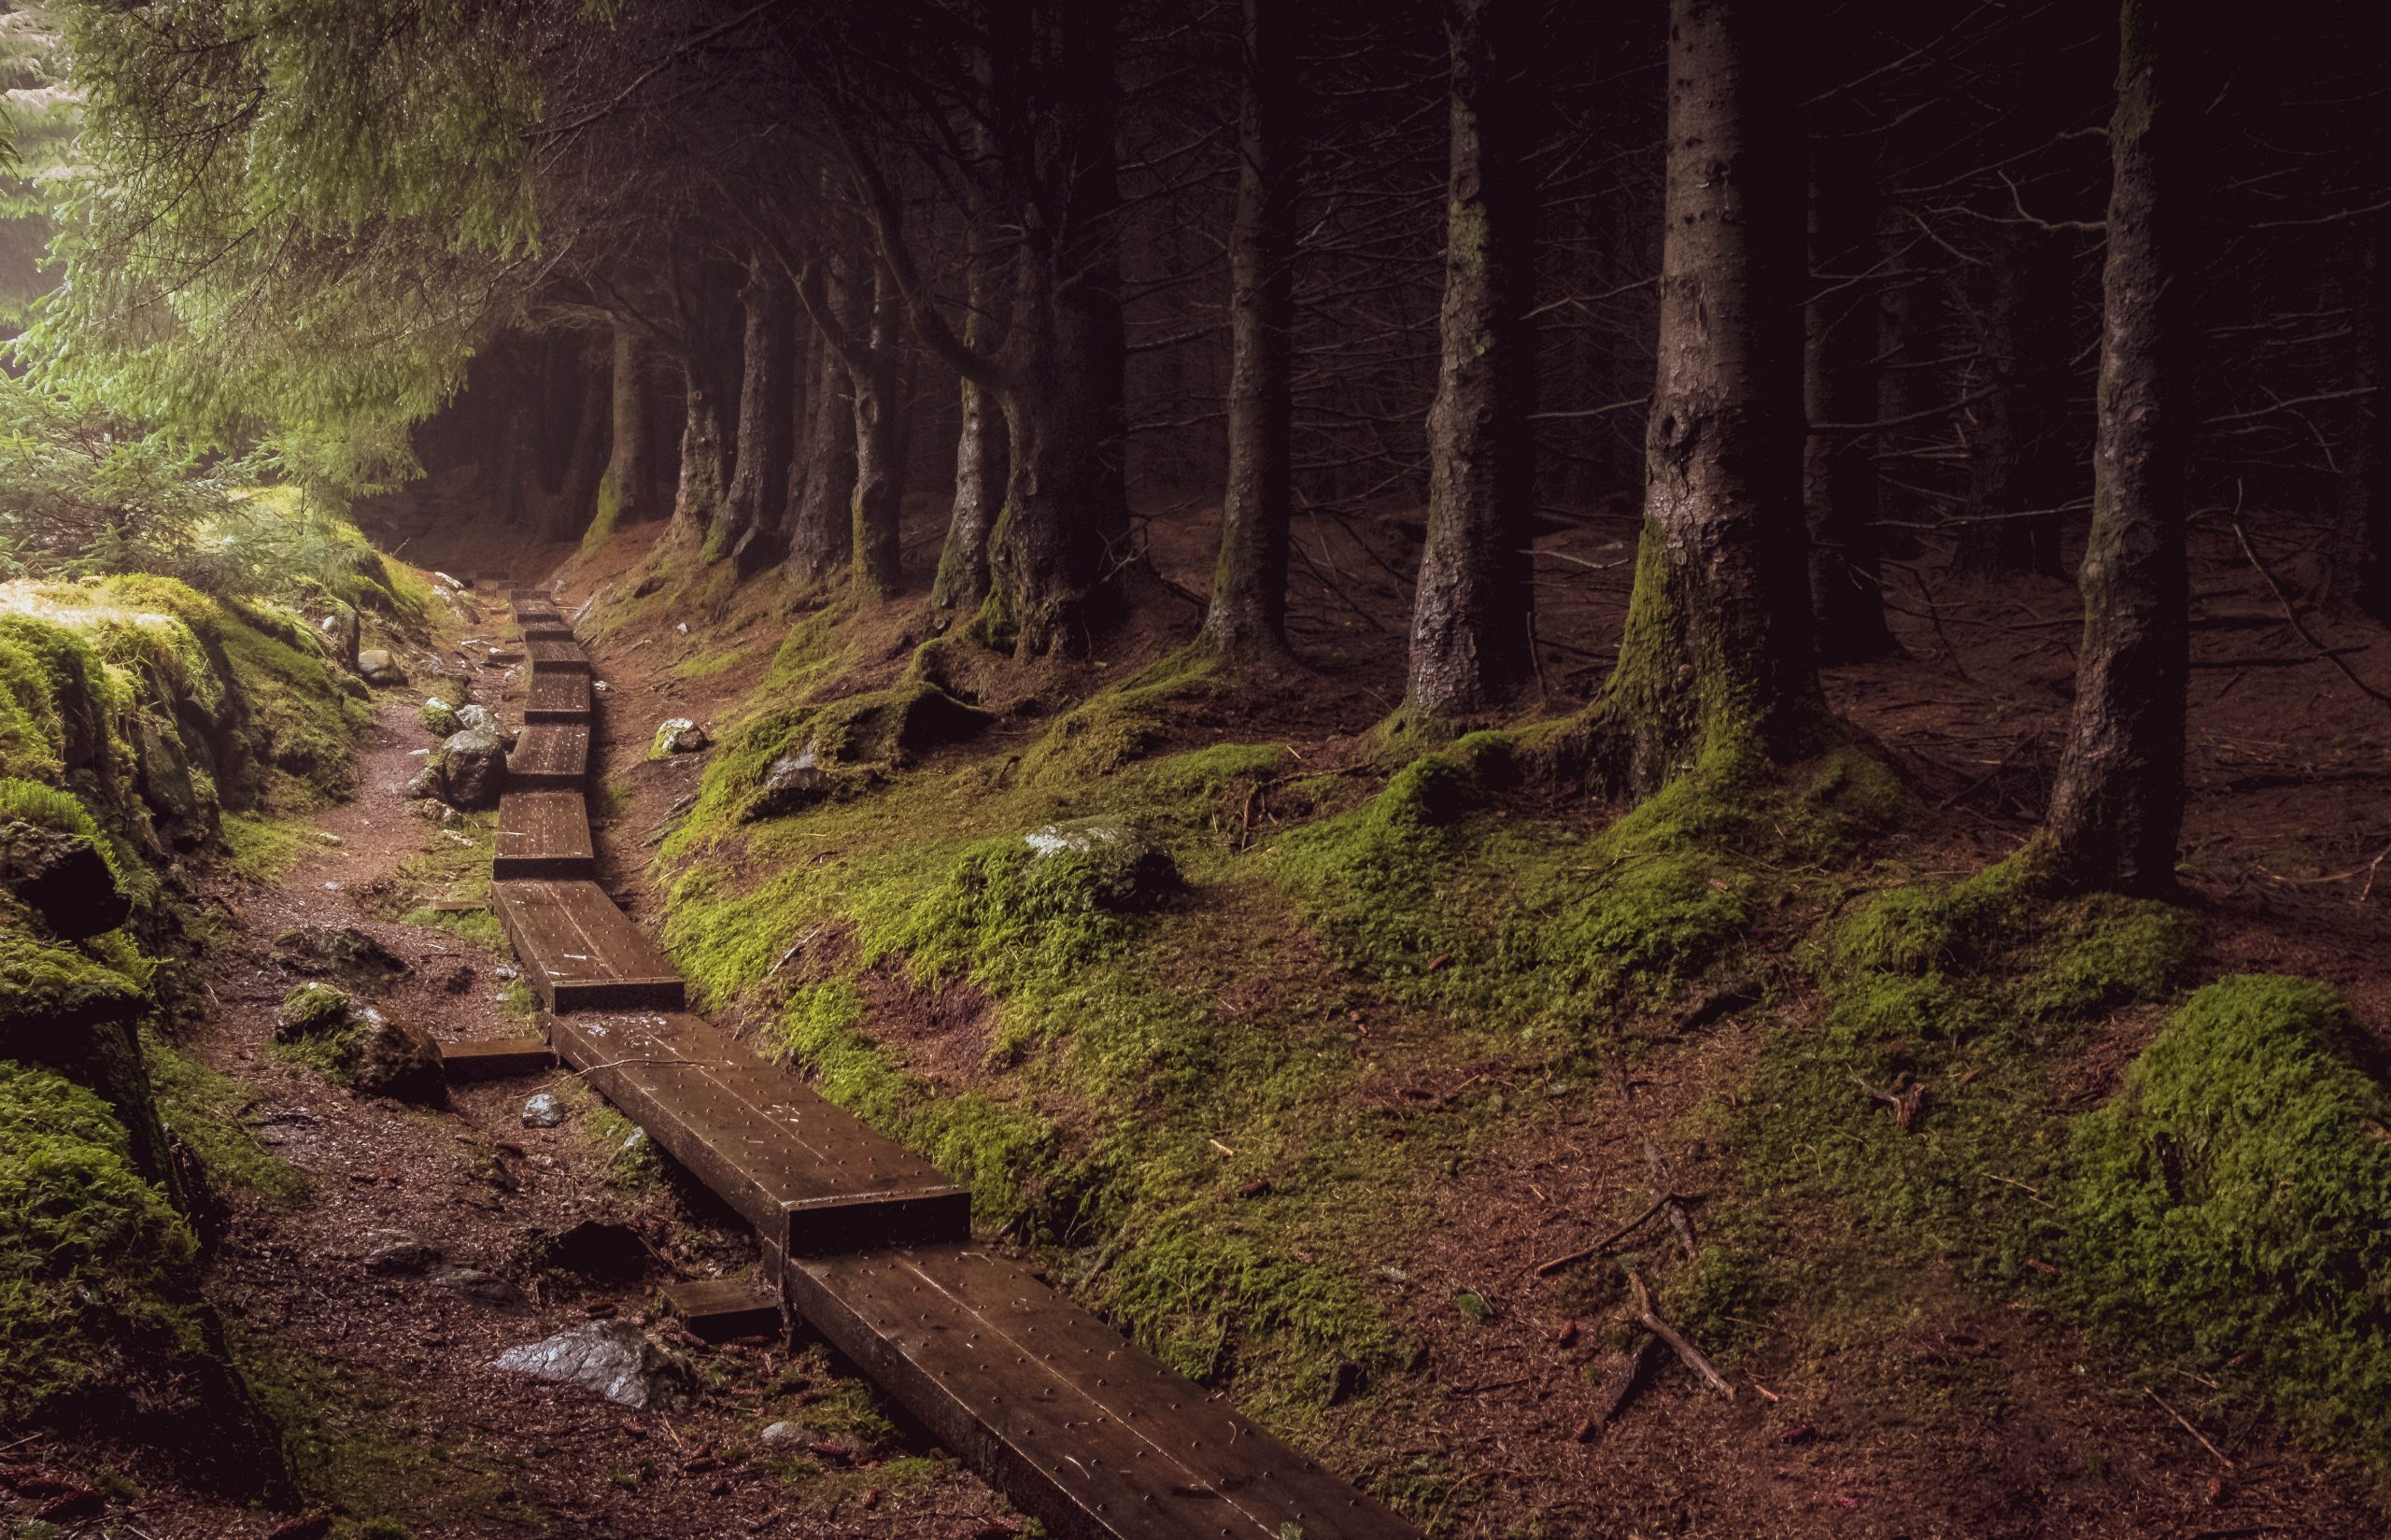 Ballinstoe by Richie Moylan
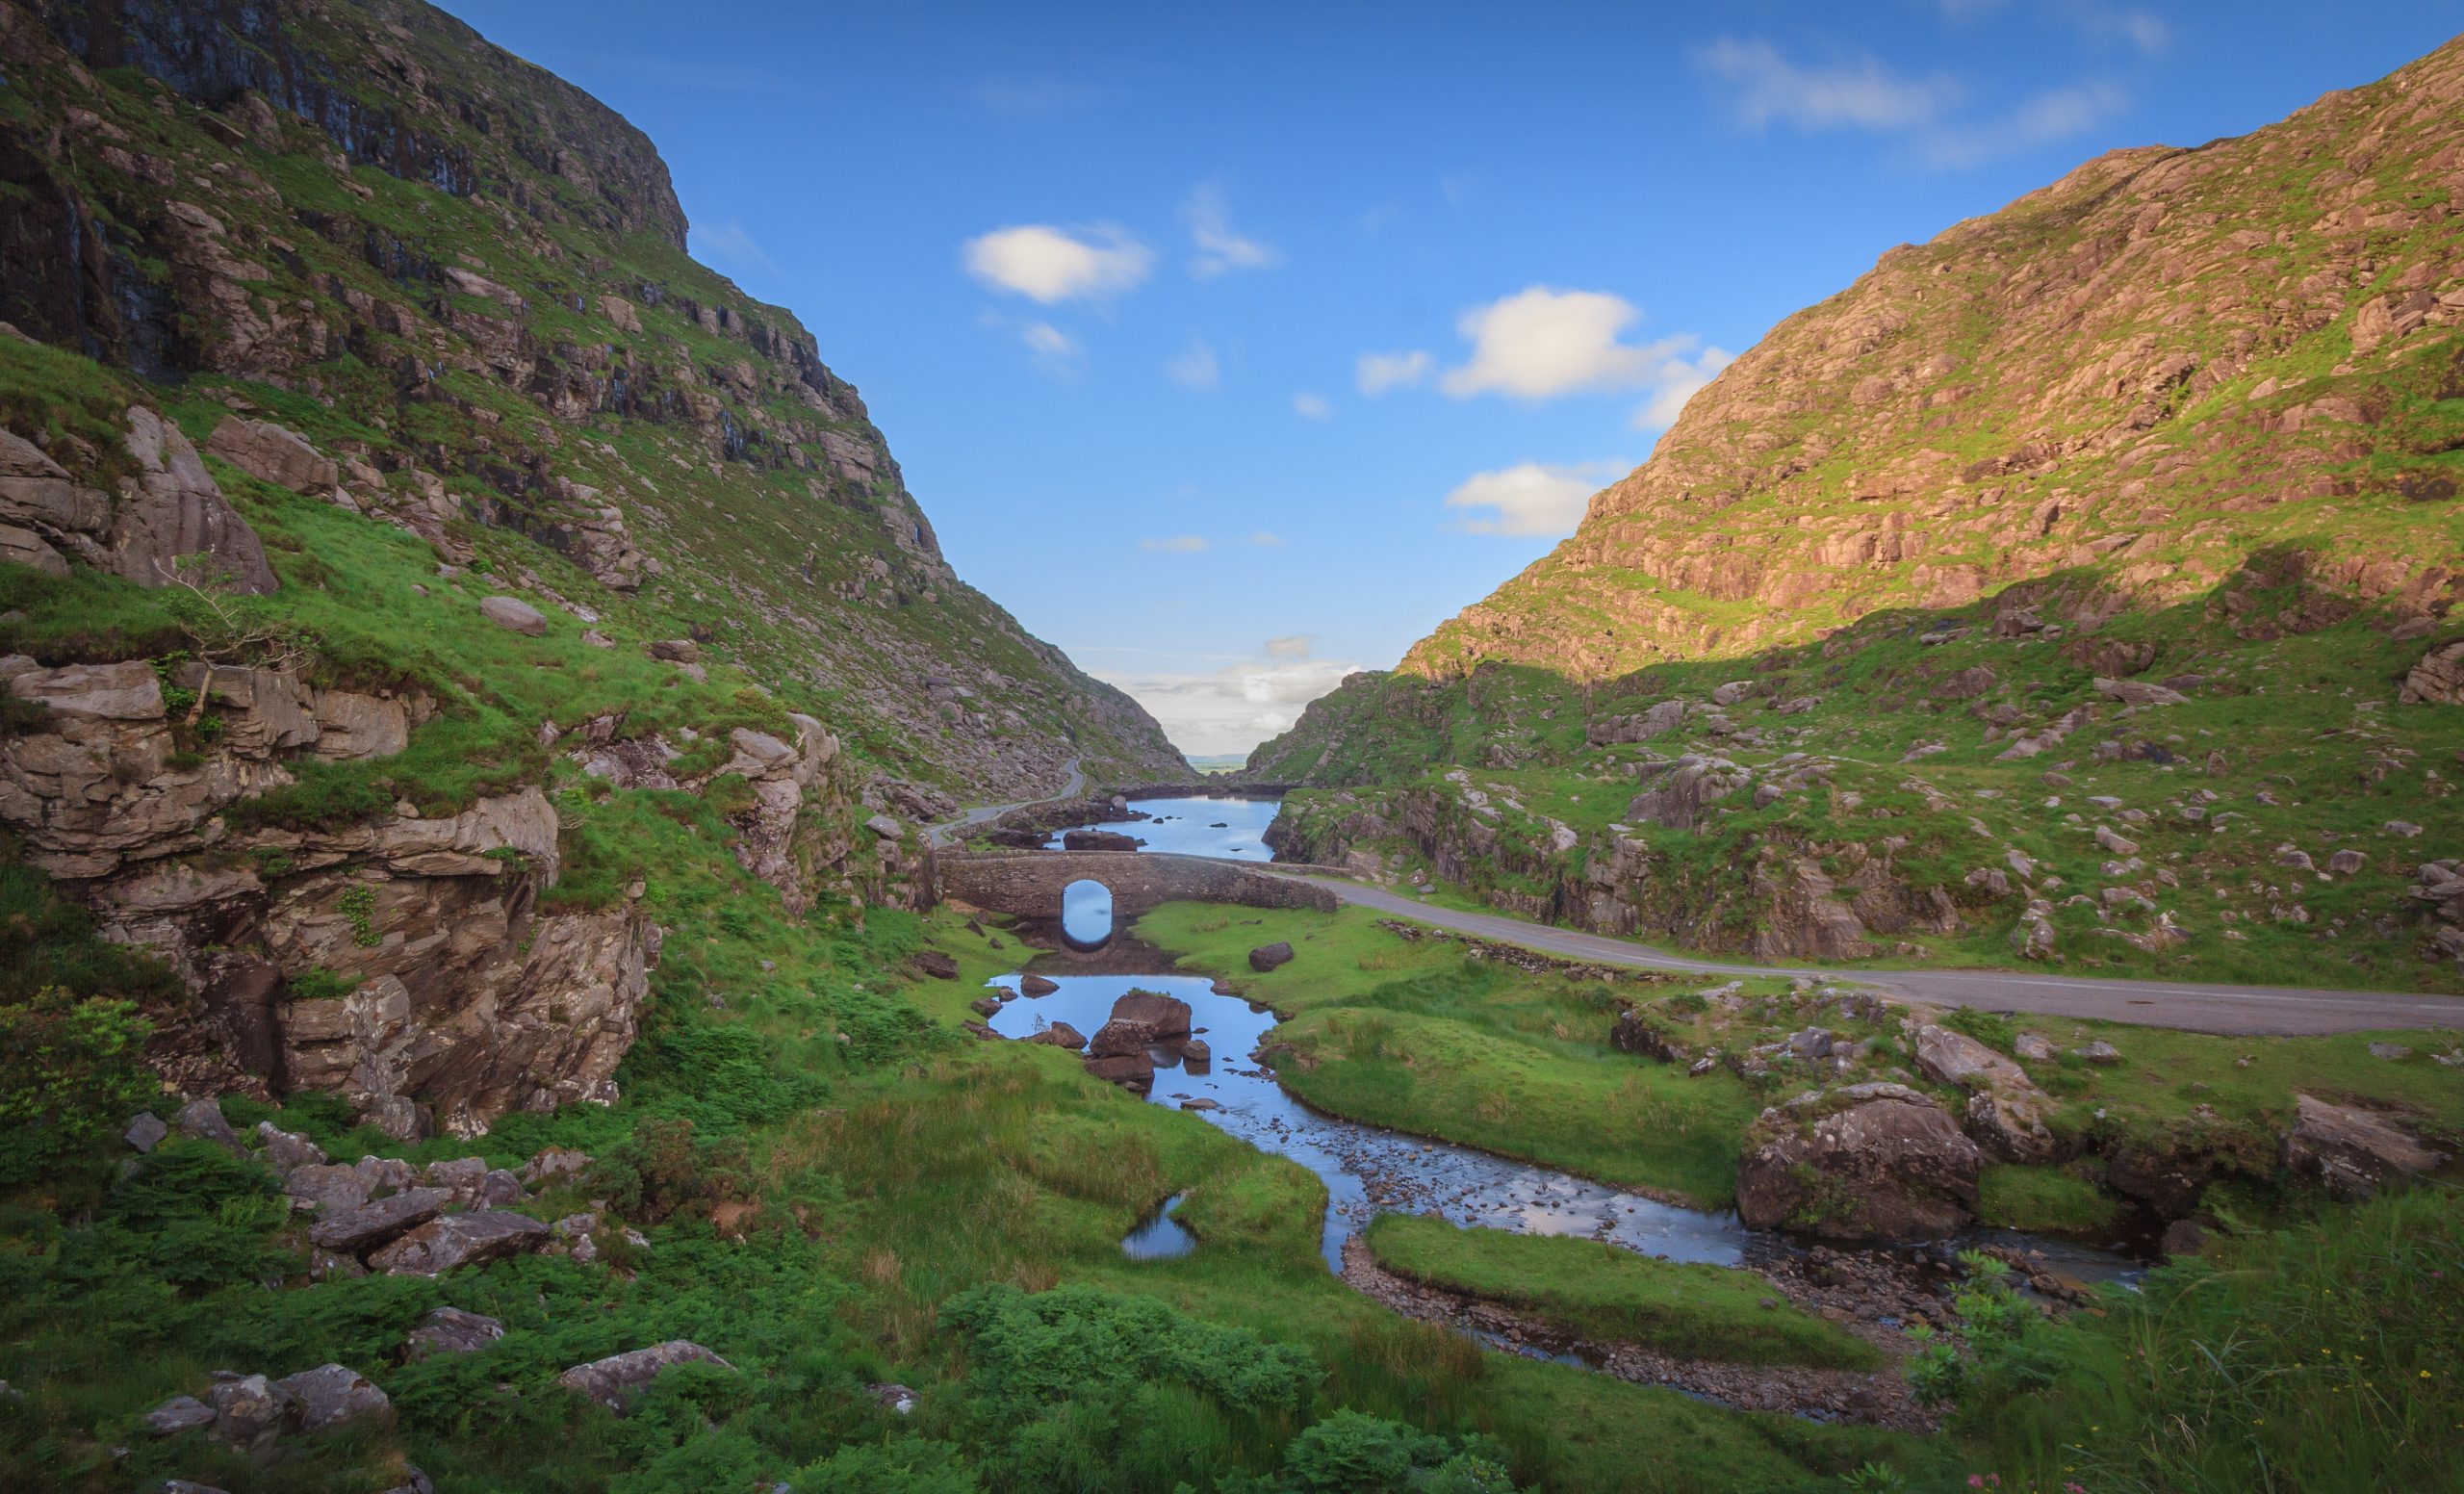 Gap of Dunloe by John Hurley
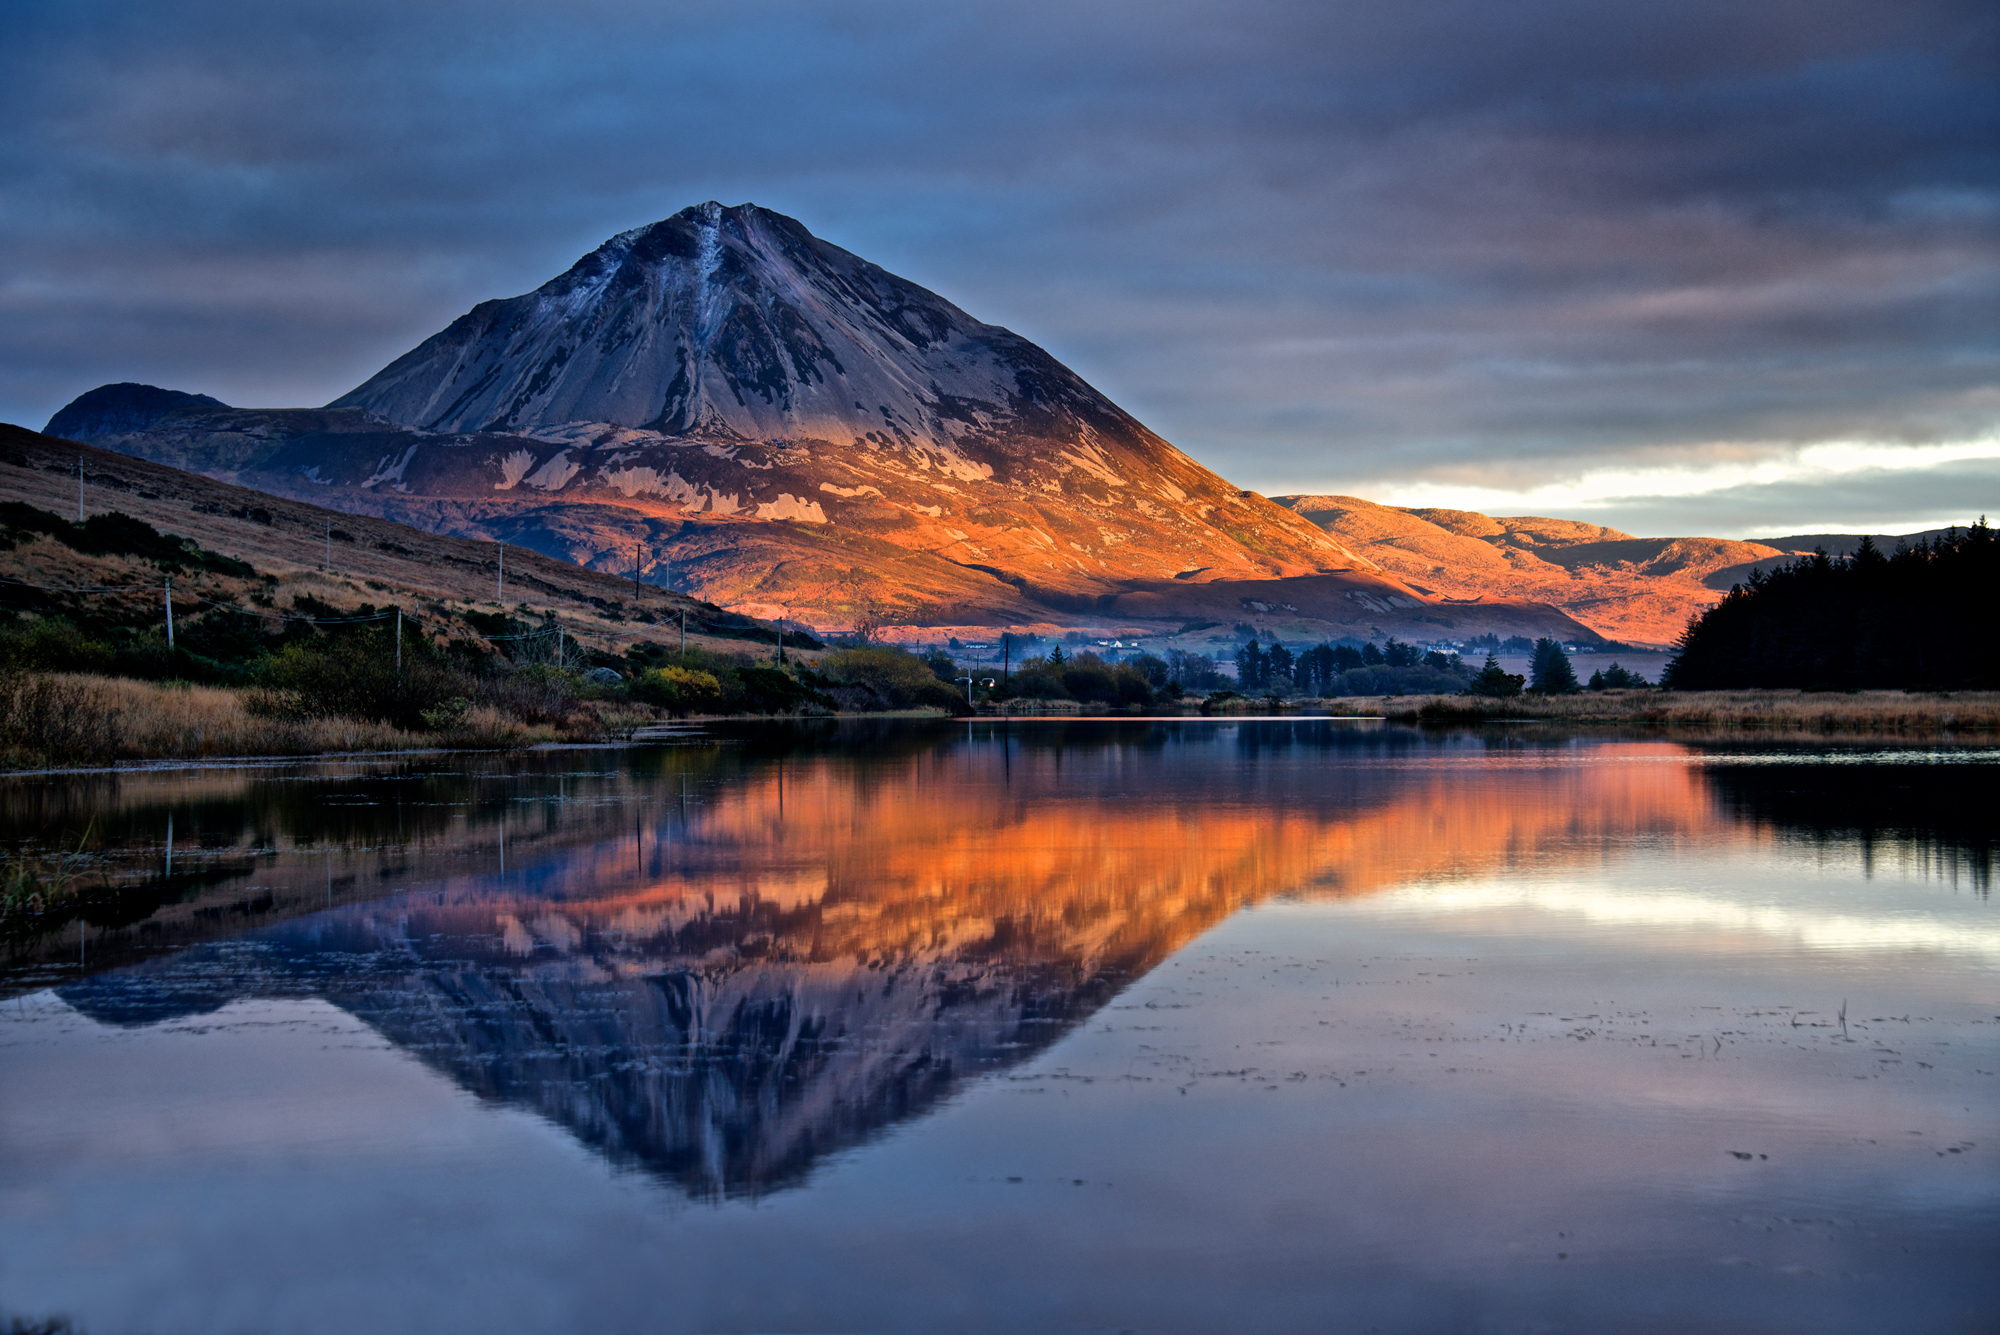 Errigal, Autumn Hues by Trevor Cole